Depth Maps for Engraving
Diving deep into the process of depth maps from flat images, this post explores some of the open-source tooling that makes it possible to prepare depth maps for engraving.
In my last post I was finally putting up some writing I had done while the weather was a bit nicer and when the resin printer behaved a bit better. Now that it is good and truly Winter here, I have needed to switch to other projects. Lately a new fiber laser has been added to the list of tools I'm able to work with. A fiber laser lets you ablate metal, opening the door for some interesting repairs and projects. One of the ones in particular that I would like to try out is a depth engraving for badges an pins like the old typewriter awards. Going from an image to a depth map is more or less a solved problem at this point, however most of the solutions are a bit involved or depend on using a paid service or proprietary model.
While digging around, I was able to find some old posts from folks who had been doing something similar in the same ComfyUI system that I have been using. Being able to set this up in a similar pipeline would be a big boon!
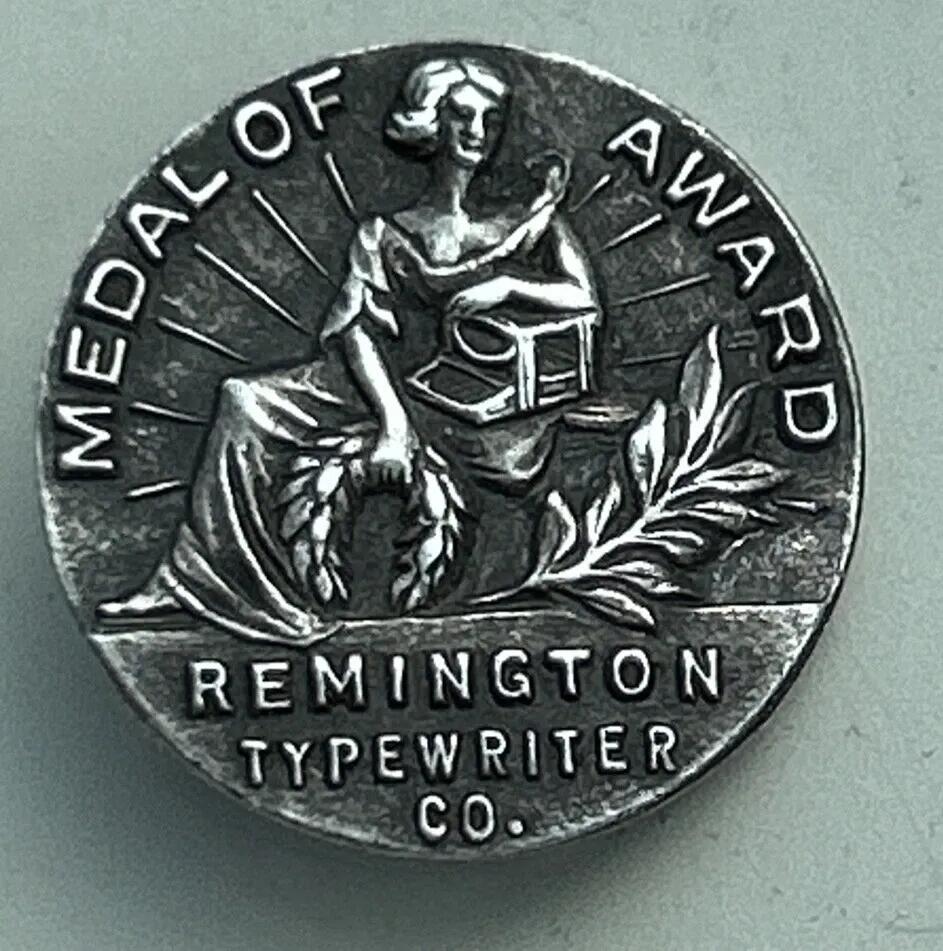
As a point of clarification, the paid services out there are fairly reasonable for what they offer and wind up usually providing pretty decent results. If you are in a similar situation and need depth maps for non-proprietary work, it seems totally reasonable to use those in place of this. I do think the results they provide are honestly a bit better, even if you do lose out on some of the flexibility. The purpose here will be to take the image of this real award medal and turn it into a file suitable for engraving - this is the first step in that process.
In the real, physical world, objects can have all manner of shapes, including overhangs, gaps, and folds. When 3D printing or CNC carving with a multi-axis machine, you can replicate these contours. A laser is capable of removing in layers, much like a 3D printer, however it does not have the ability to create overhangs; any shape that it will engrave in depth must exist as whole % of the engraving depth. This finite range of ablation means that if you can convert an original image to this gradient (usually represented in greyscale) then you can engrave most images even if they began as a flat of 3-dimensional object.
This post follows the process of converting such an image into a format suitable for engraving - a depth map. This workflow utilizes the Marigold depth processor along with a series of image pre-processing steps to give the processor a good starting point. This workflow benefits from a few additional steps upstream, so this shows a bit of the progress, first cleaning up the image, then removing the lighting imbalance (so that the item appears level and not tilted in the engraving) and lastly removing the background.
The final image is best if it has a plain background so that it doesn't attempt to diffuse without any initial image. This is an image-to-image workflow, so it depends on the original image in the latent input. The cleanup steps above were done with the latest Qwen 2509 Image Edit models that I wrote about in this post - Generating Thoughts
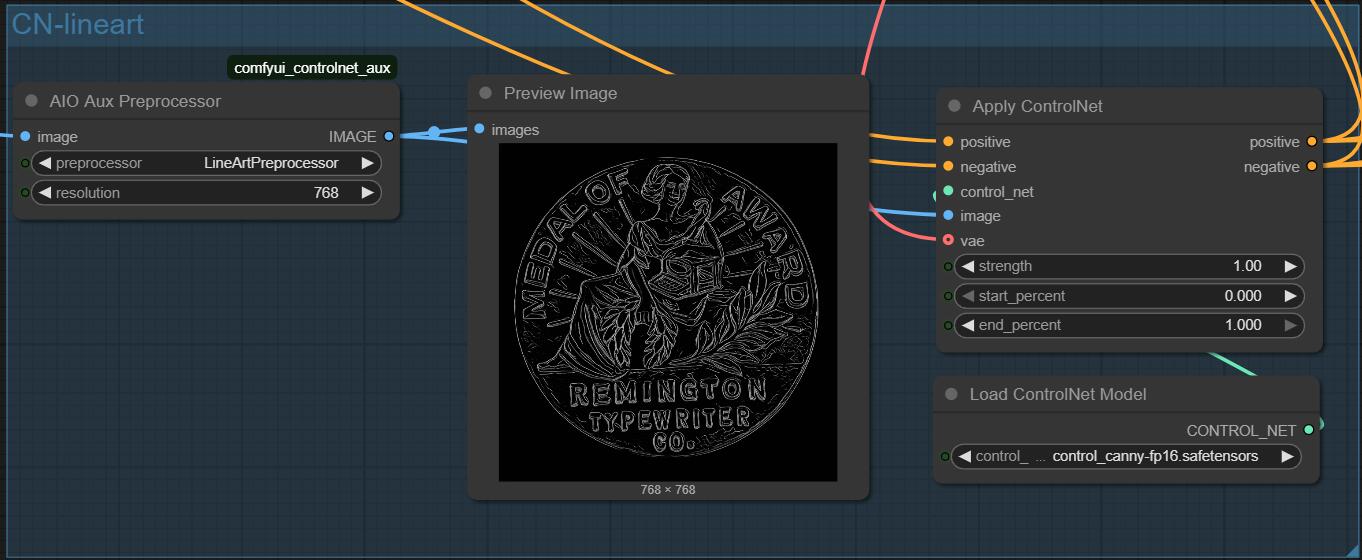
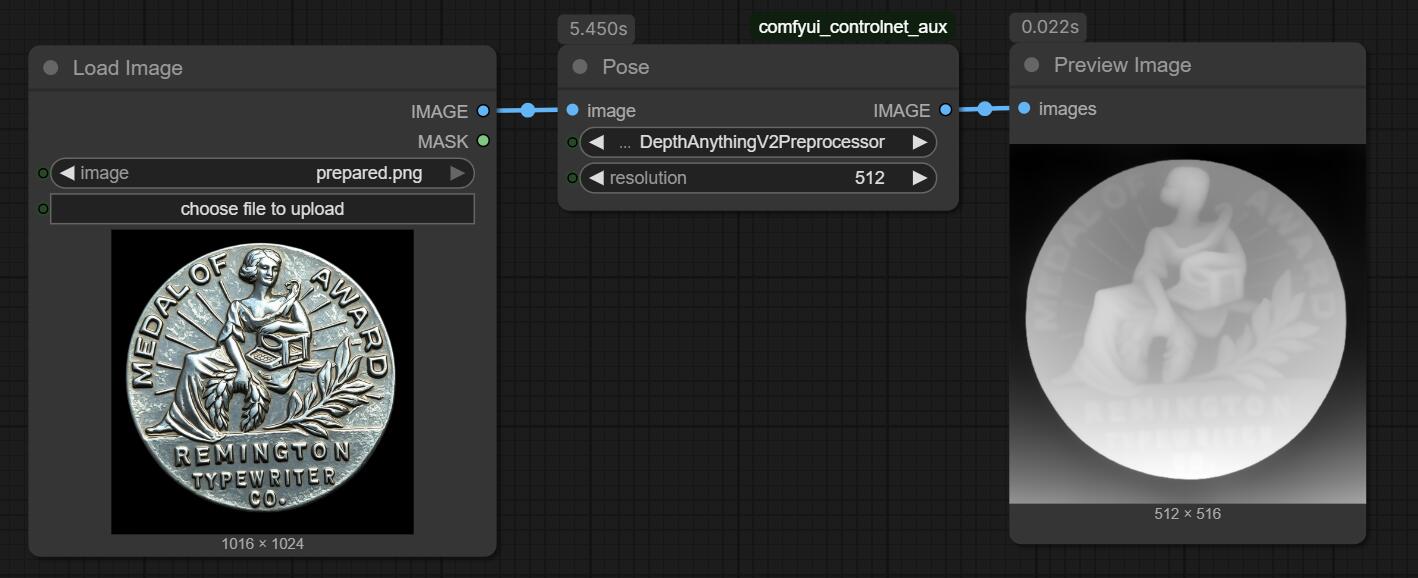
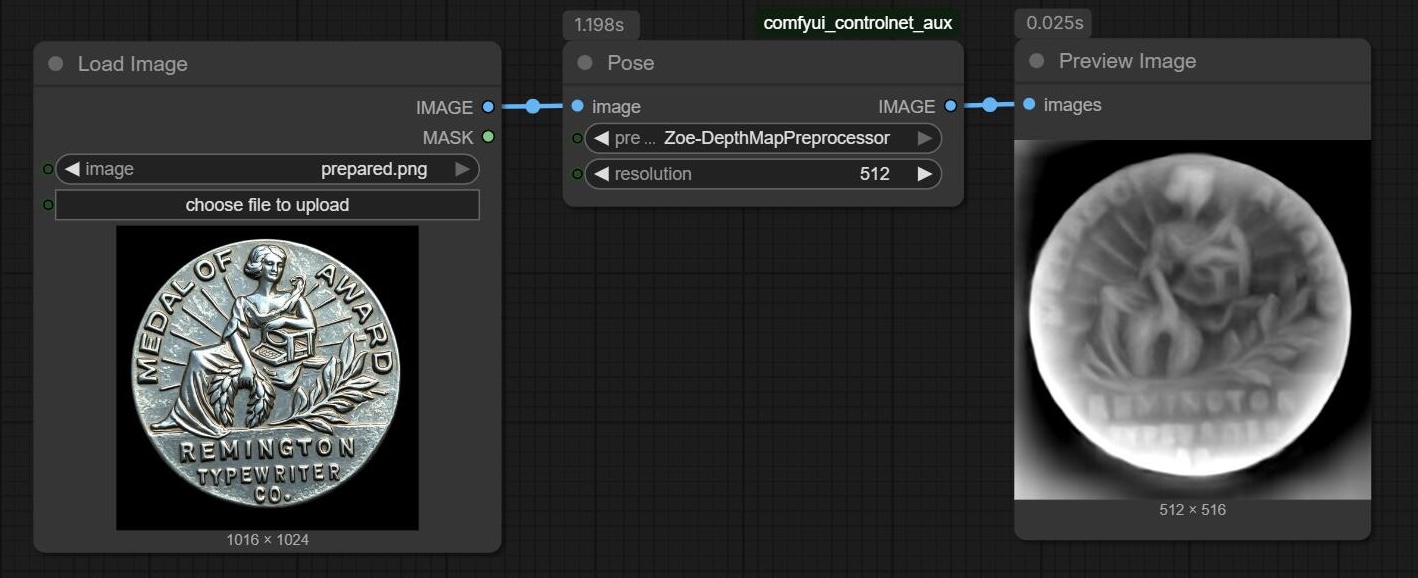
In the pipeline we have a step to separate out the line art, which will help in identifying edges of the contours. Without this step, you can see roughly what these backdrops would look like with just a plain depth step. Again, just fine if it were being passed back into another model and just used for giving a little depth perception to the diffusion, but in this case we need a bit more precision.
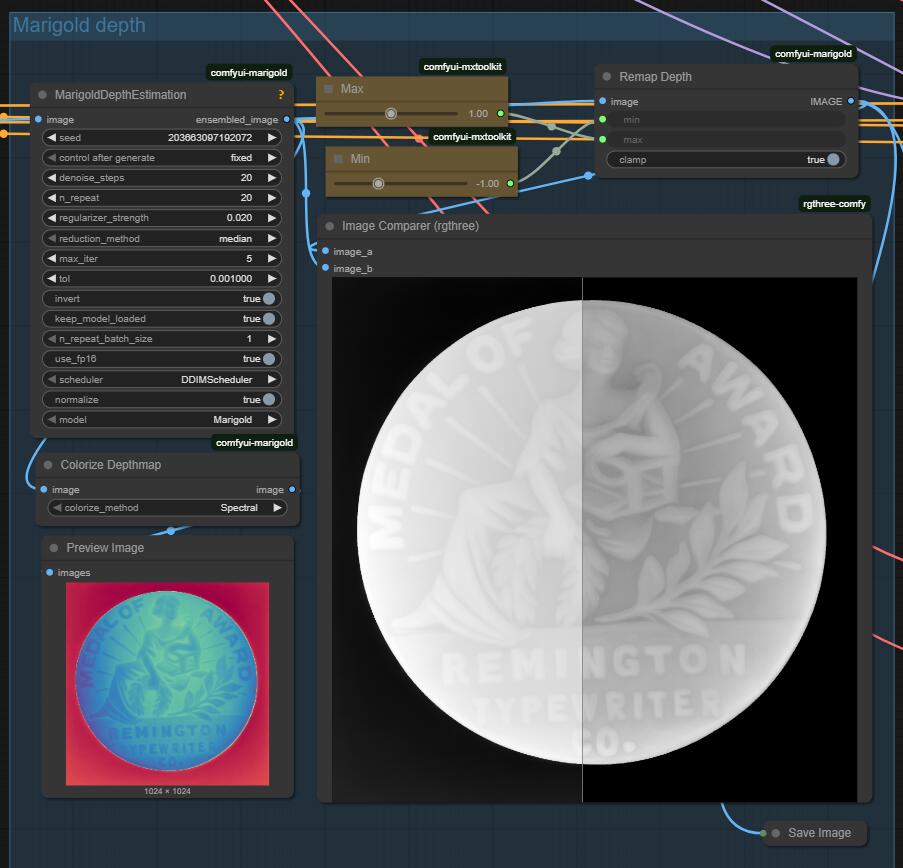
If that sounds a bit overly technical, don't worry as this is just to highlight why the 'easy' options aren't enough for us here. Additionally, this workflow mostly is limited to a few levers and knobs, so there isn't too much else we'll need to cover. You can enable or disable some of the image pre-processors and change the type of Controlnet and pre-processor, then on the final output you can tweak the minimum and maximum depth to flatten things a bit. This lets you bring out more detail in the area that you care about. Particularly helpful for large flat areas that ended up with some texture but that you would prefer if they were collapsed a bit.
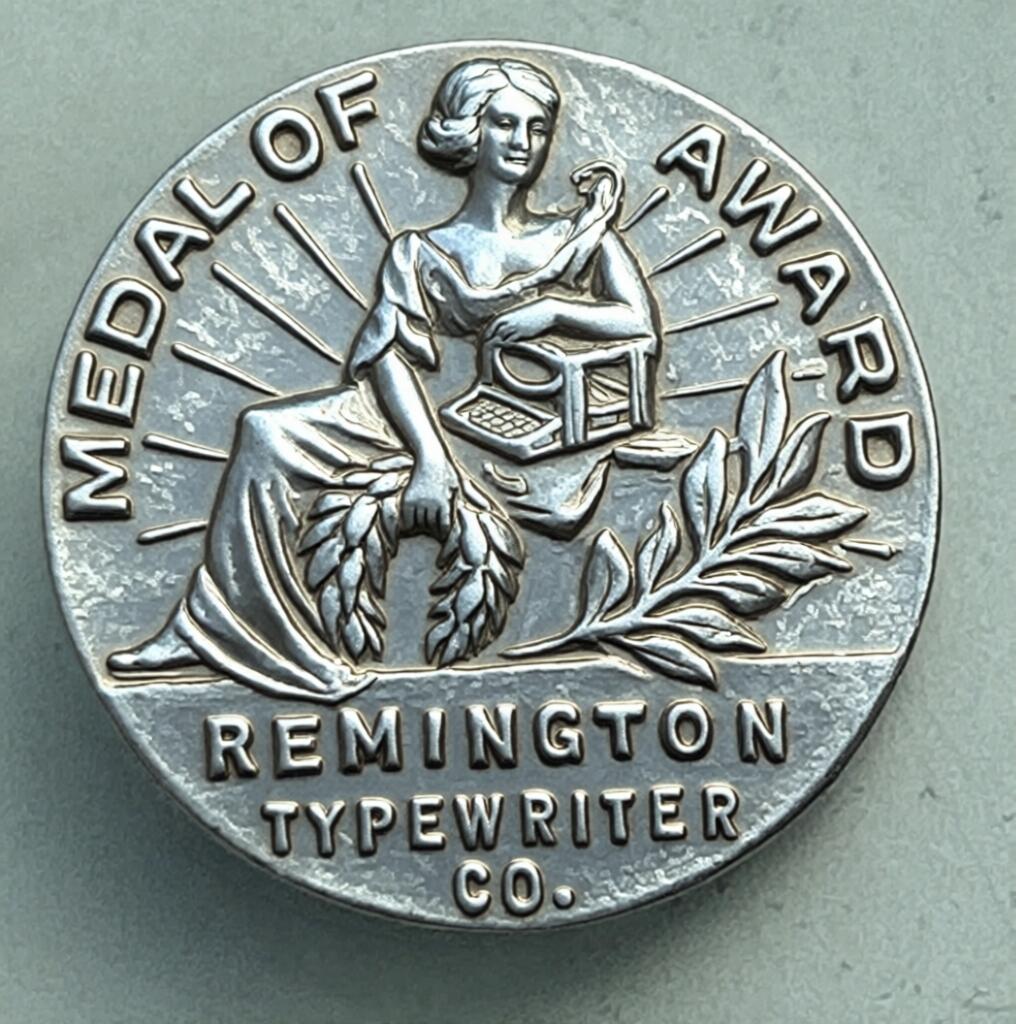
Here you can see a comparison of the before/after of the remapping step - the original image is a bit lacking in true shadows and dark regions, it's also already on a flat surface.
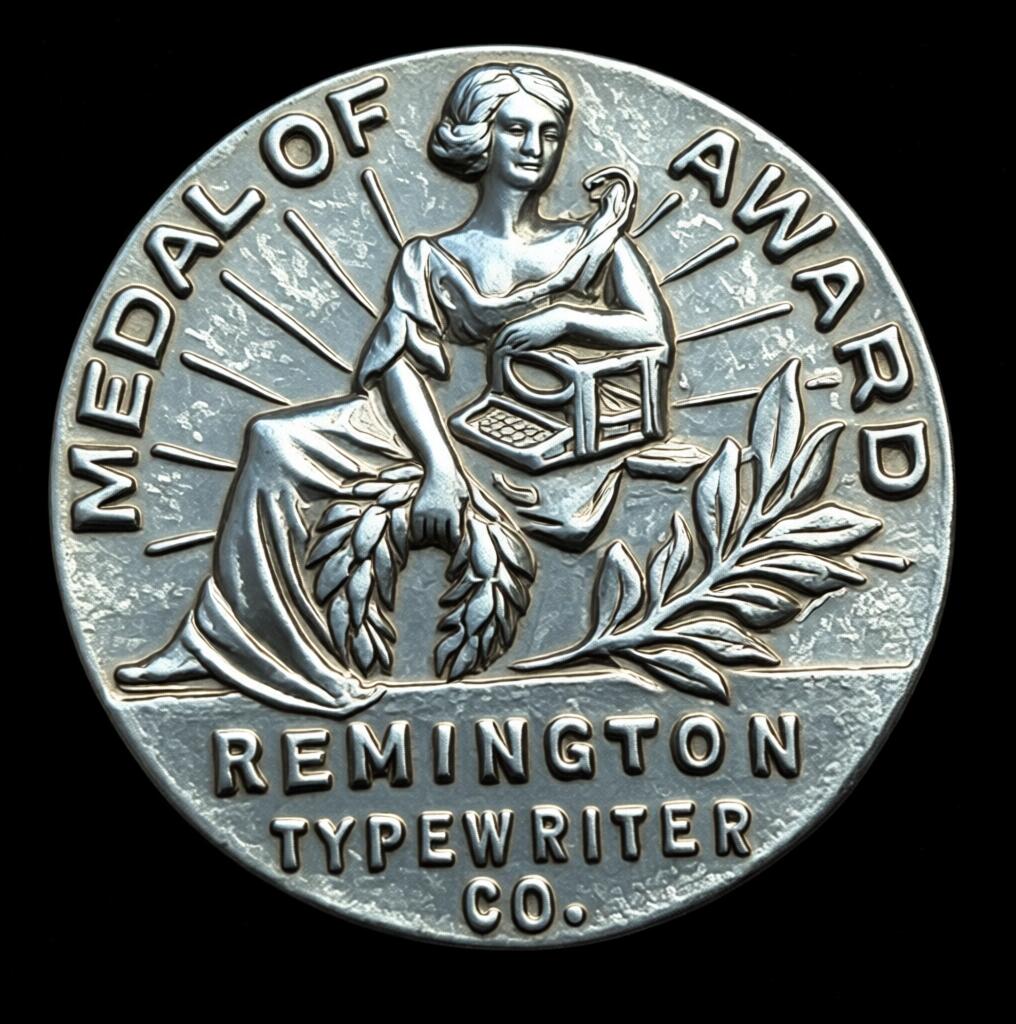
This pipeline so far yields a decent depth map if the purpose is giving guidance to a model that is going to produce some diffusion result, but as-is would not have the kind of detail that we would want for engraving as the laser is capable of some serious focus.
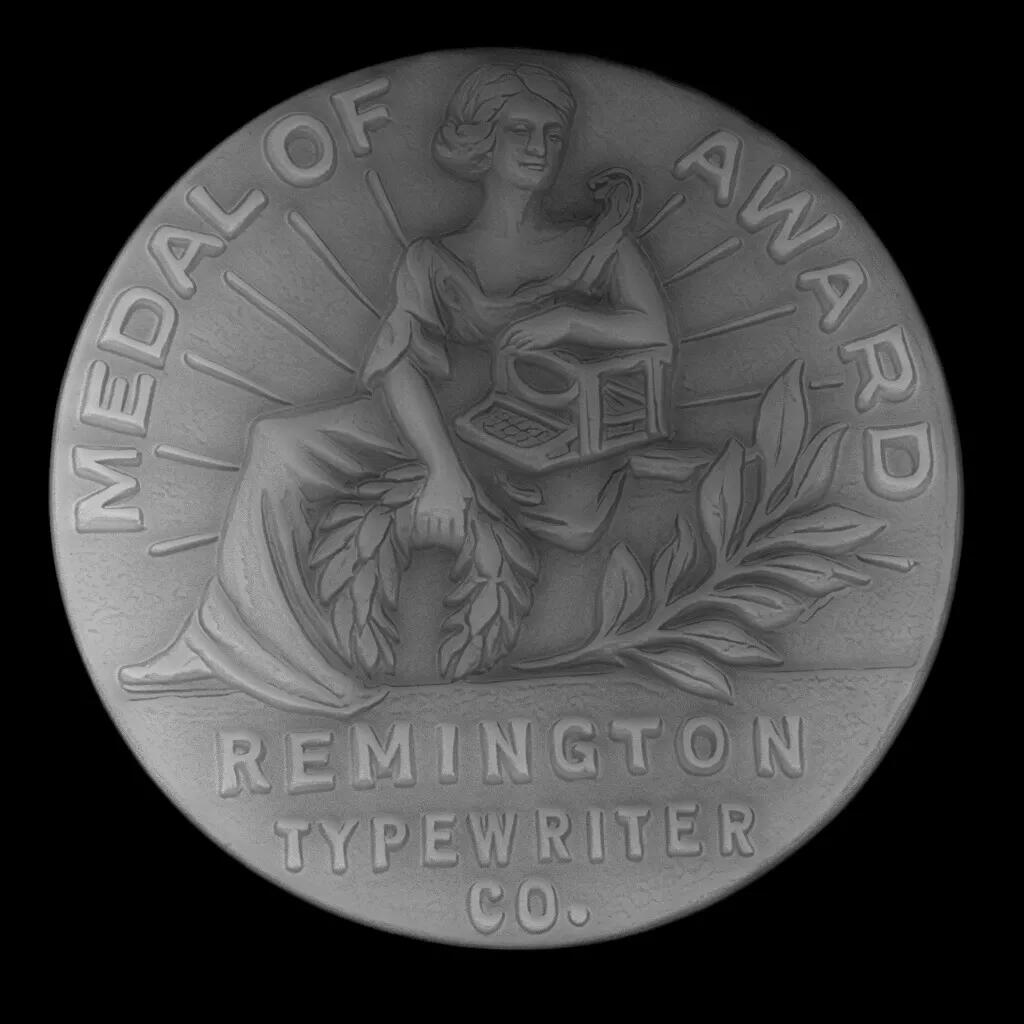
The last step here is to export the image and get it into a photo editor. In keeping with the theme of open source (at least open weights) I put this into GIMP, then layered the original image, gave it a high pass, then converted the colors to alpha, layering that over the depth map. This ultimately resulted in this image below.
Stay tuned to see the results on the laser!
PS: - As an aside, there are also some existing tools that can pretty easily convert an STL or OBJ file into a depth map. Since these objects are already defined, calculating their relative height is a bit of an easier task. In this case however, going from an image to an STL first would be likely to introduce more error than this approach.
