Bichromatic Stamps
Stamps are usually a bit dull when only available in a single color. Using some clever framing and alignment tricks though, we can generate multi-color stamps!
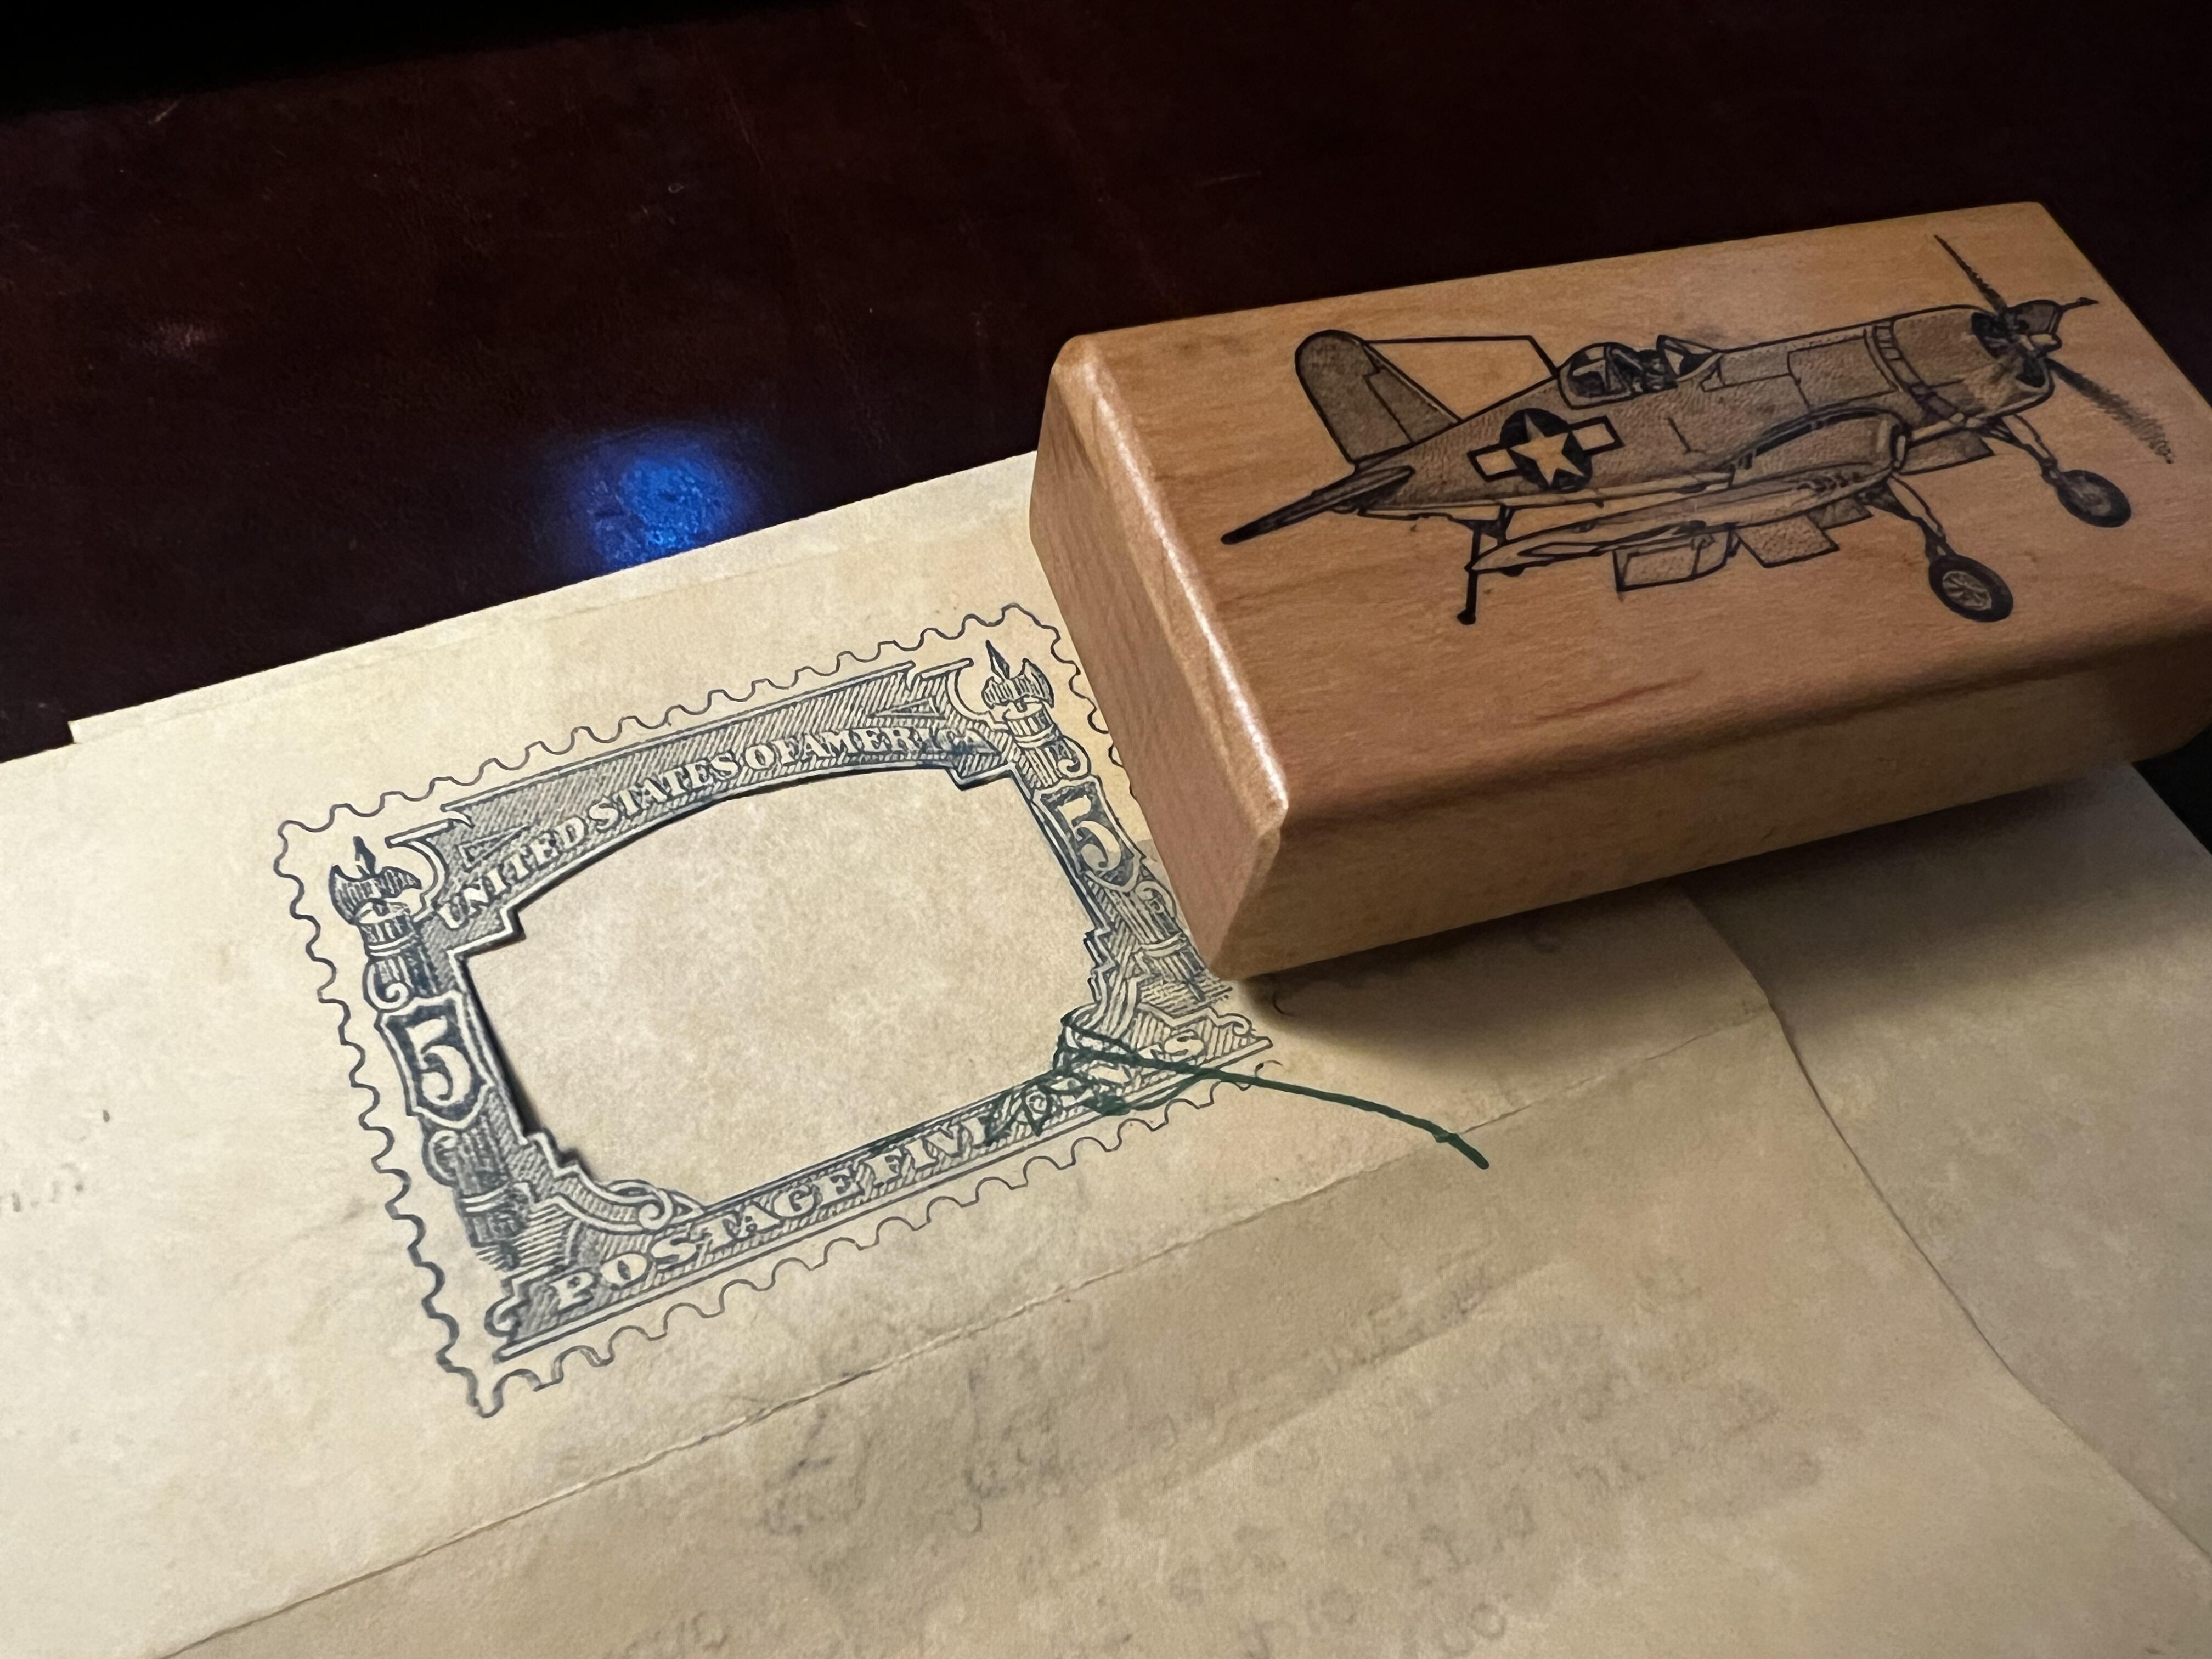
A few years back I had the opportunity to visit the postal museum in DC. It was a real treat, and I'd recommend that anyone in the area check it out. One of the attractions that really caught my eye was the exhibit for the flying Jenny, a quickly-rectified mis-print of the Curtiss Jenny on the 24¢ stamp which would go on to live in infamy. While I myself am only casually interested in philately, the presentation caught my eye, the two colors were distinctive (unlike the current generation of many-colored stamps) and they looked familiar. In fact, I recalled having a similarly framed "stamp-border" with a cutout in the center. When I got home I played around with using a shield and the stamp with a border and empty center to create some multi-color stamps.
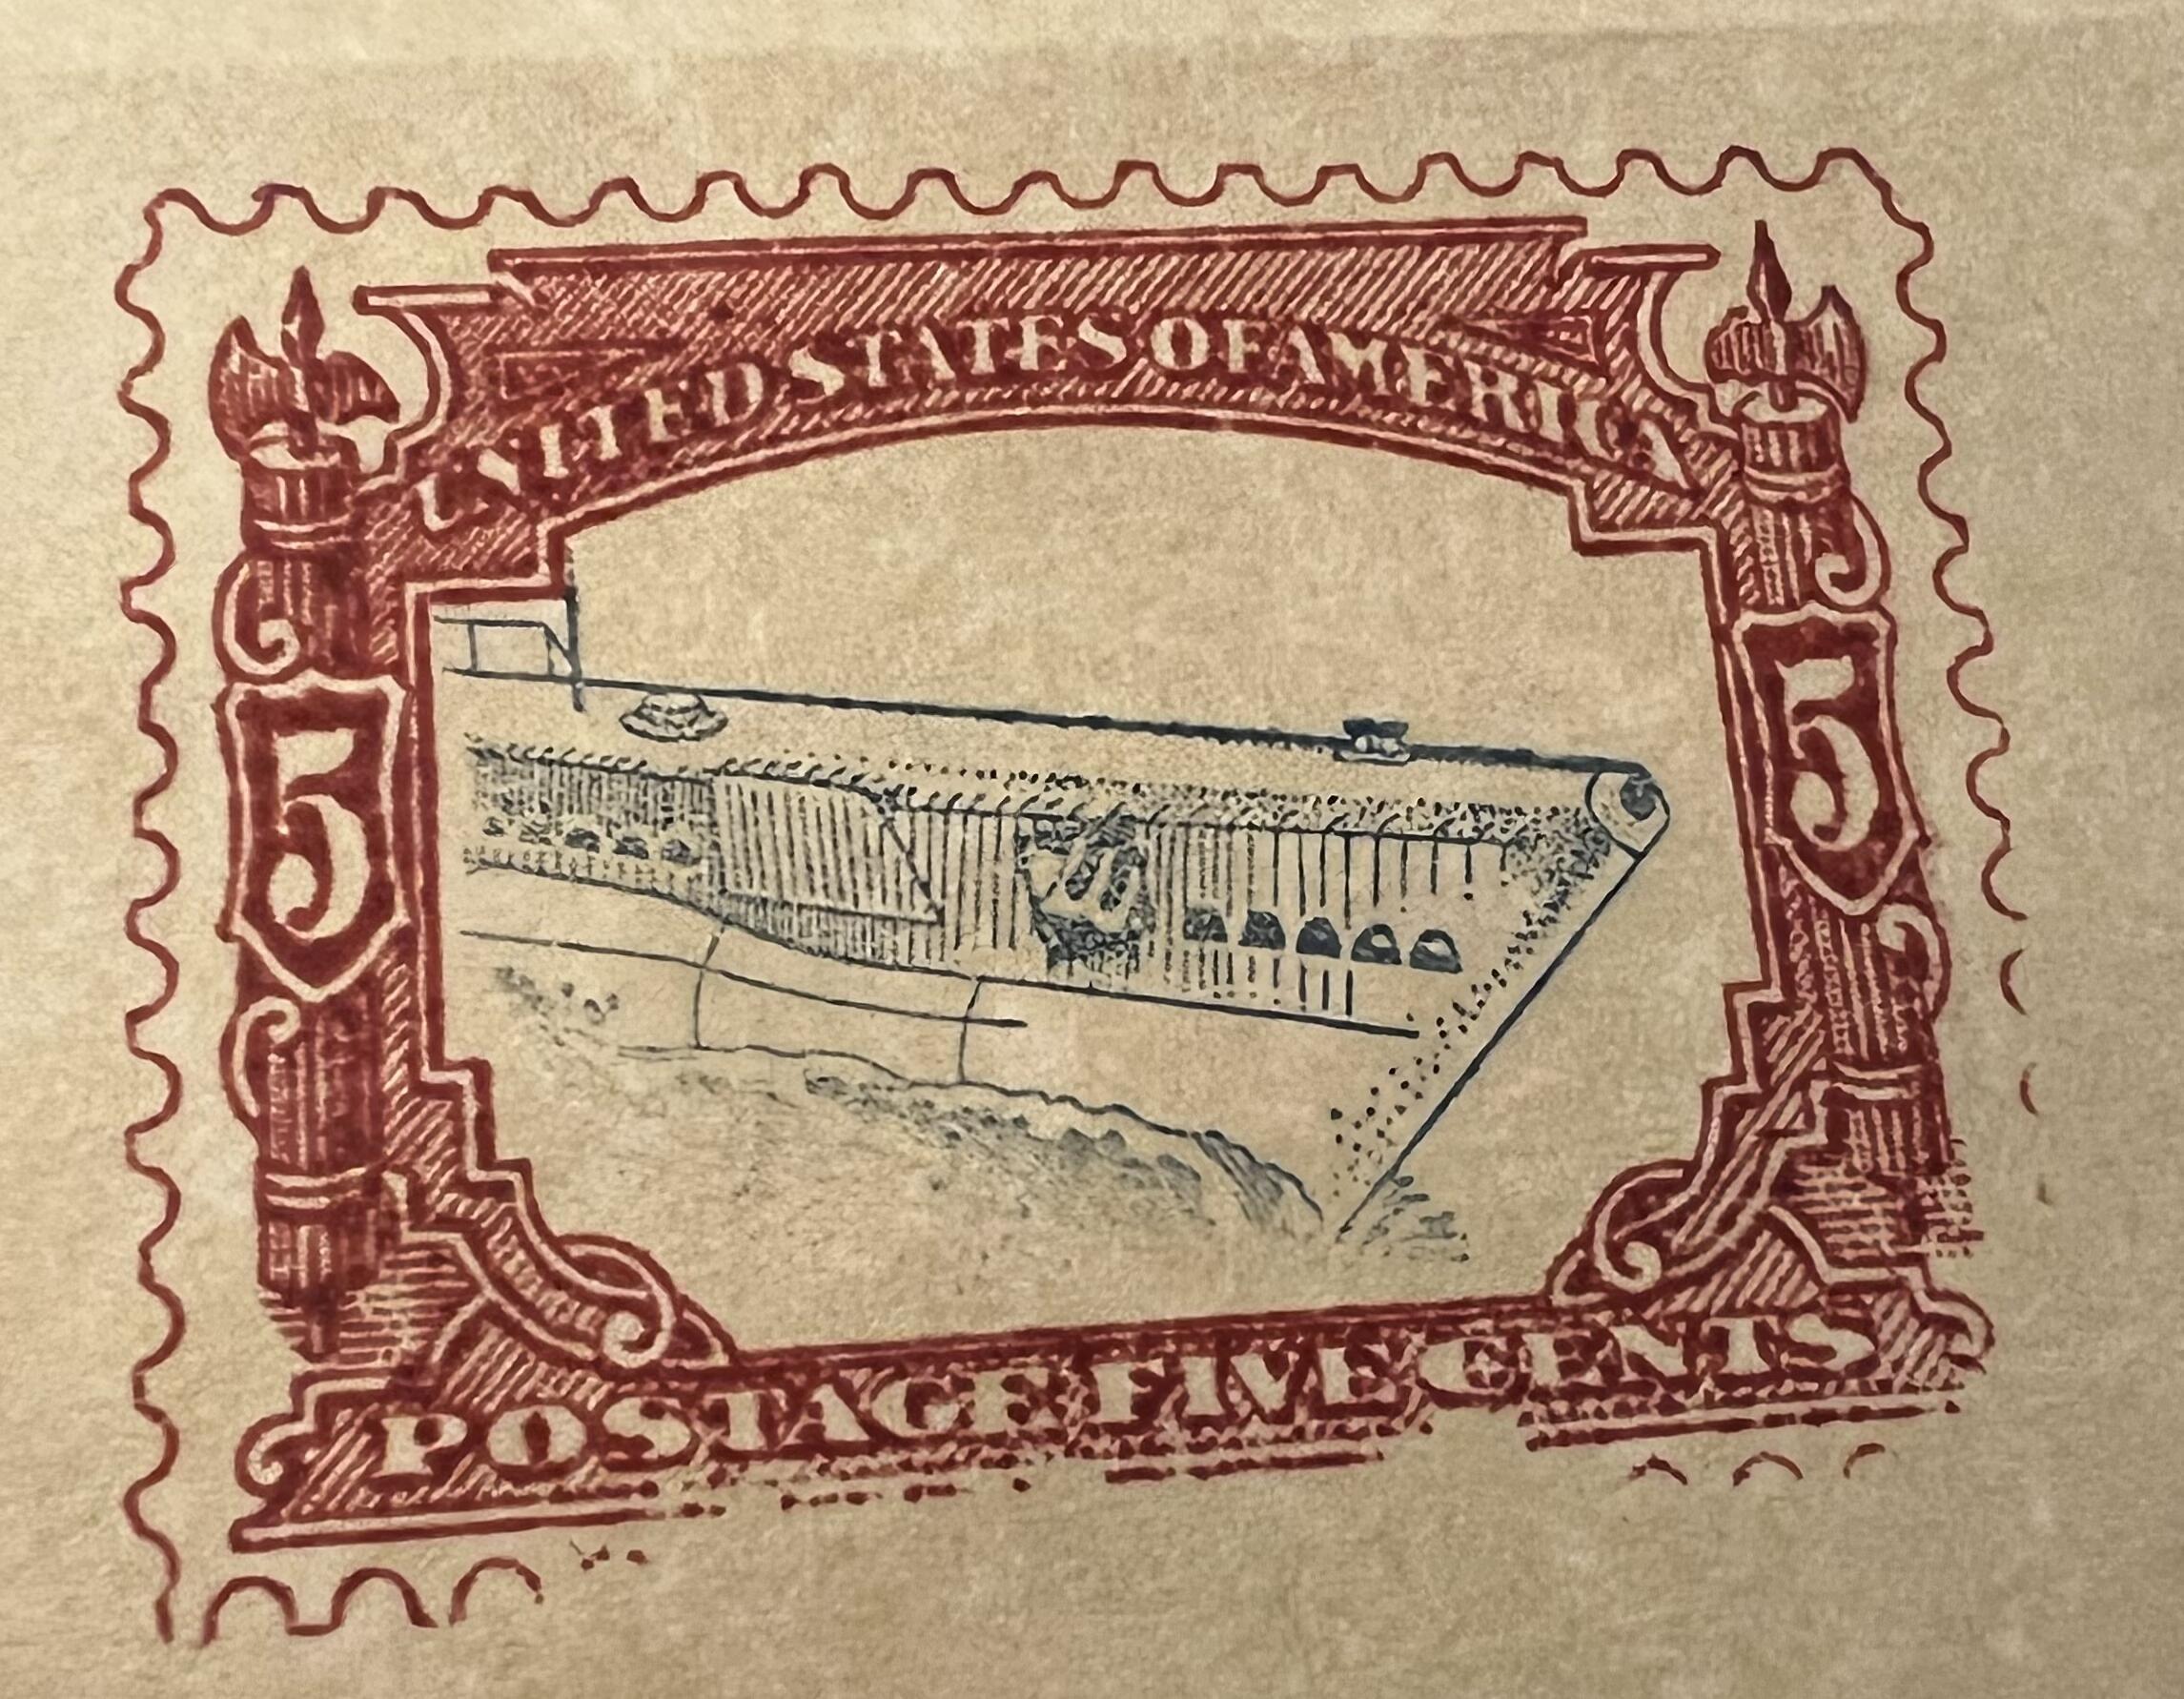
In this example you can see roughly what it would look like. The shield cutout with the outer stamp frame gives an idea of what it will look like. You begin by stamping the framed portion on the page where you want it and wait for it to dry. Once dry, you take the shield and put it back on, taking care to align the cutout so you cannot see the frame. You then stamp the inner portion over the shield, and the cutout protects it. In this example I could have kept it closer to the edge, but you get the idea.
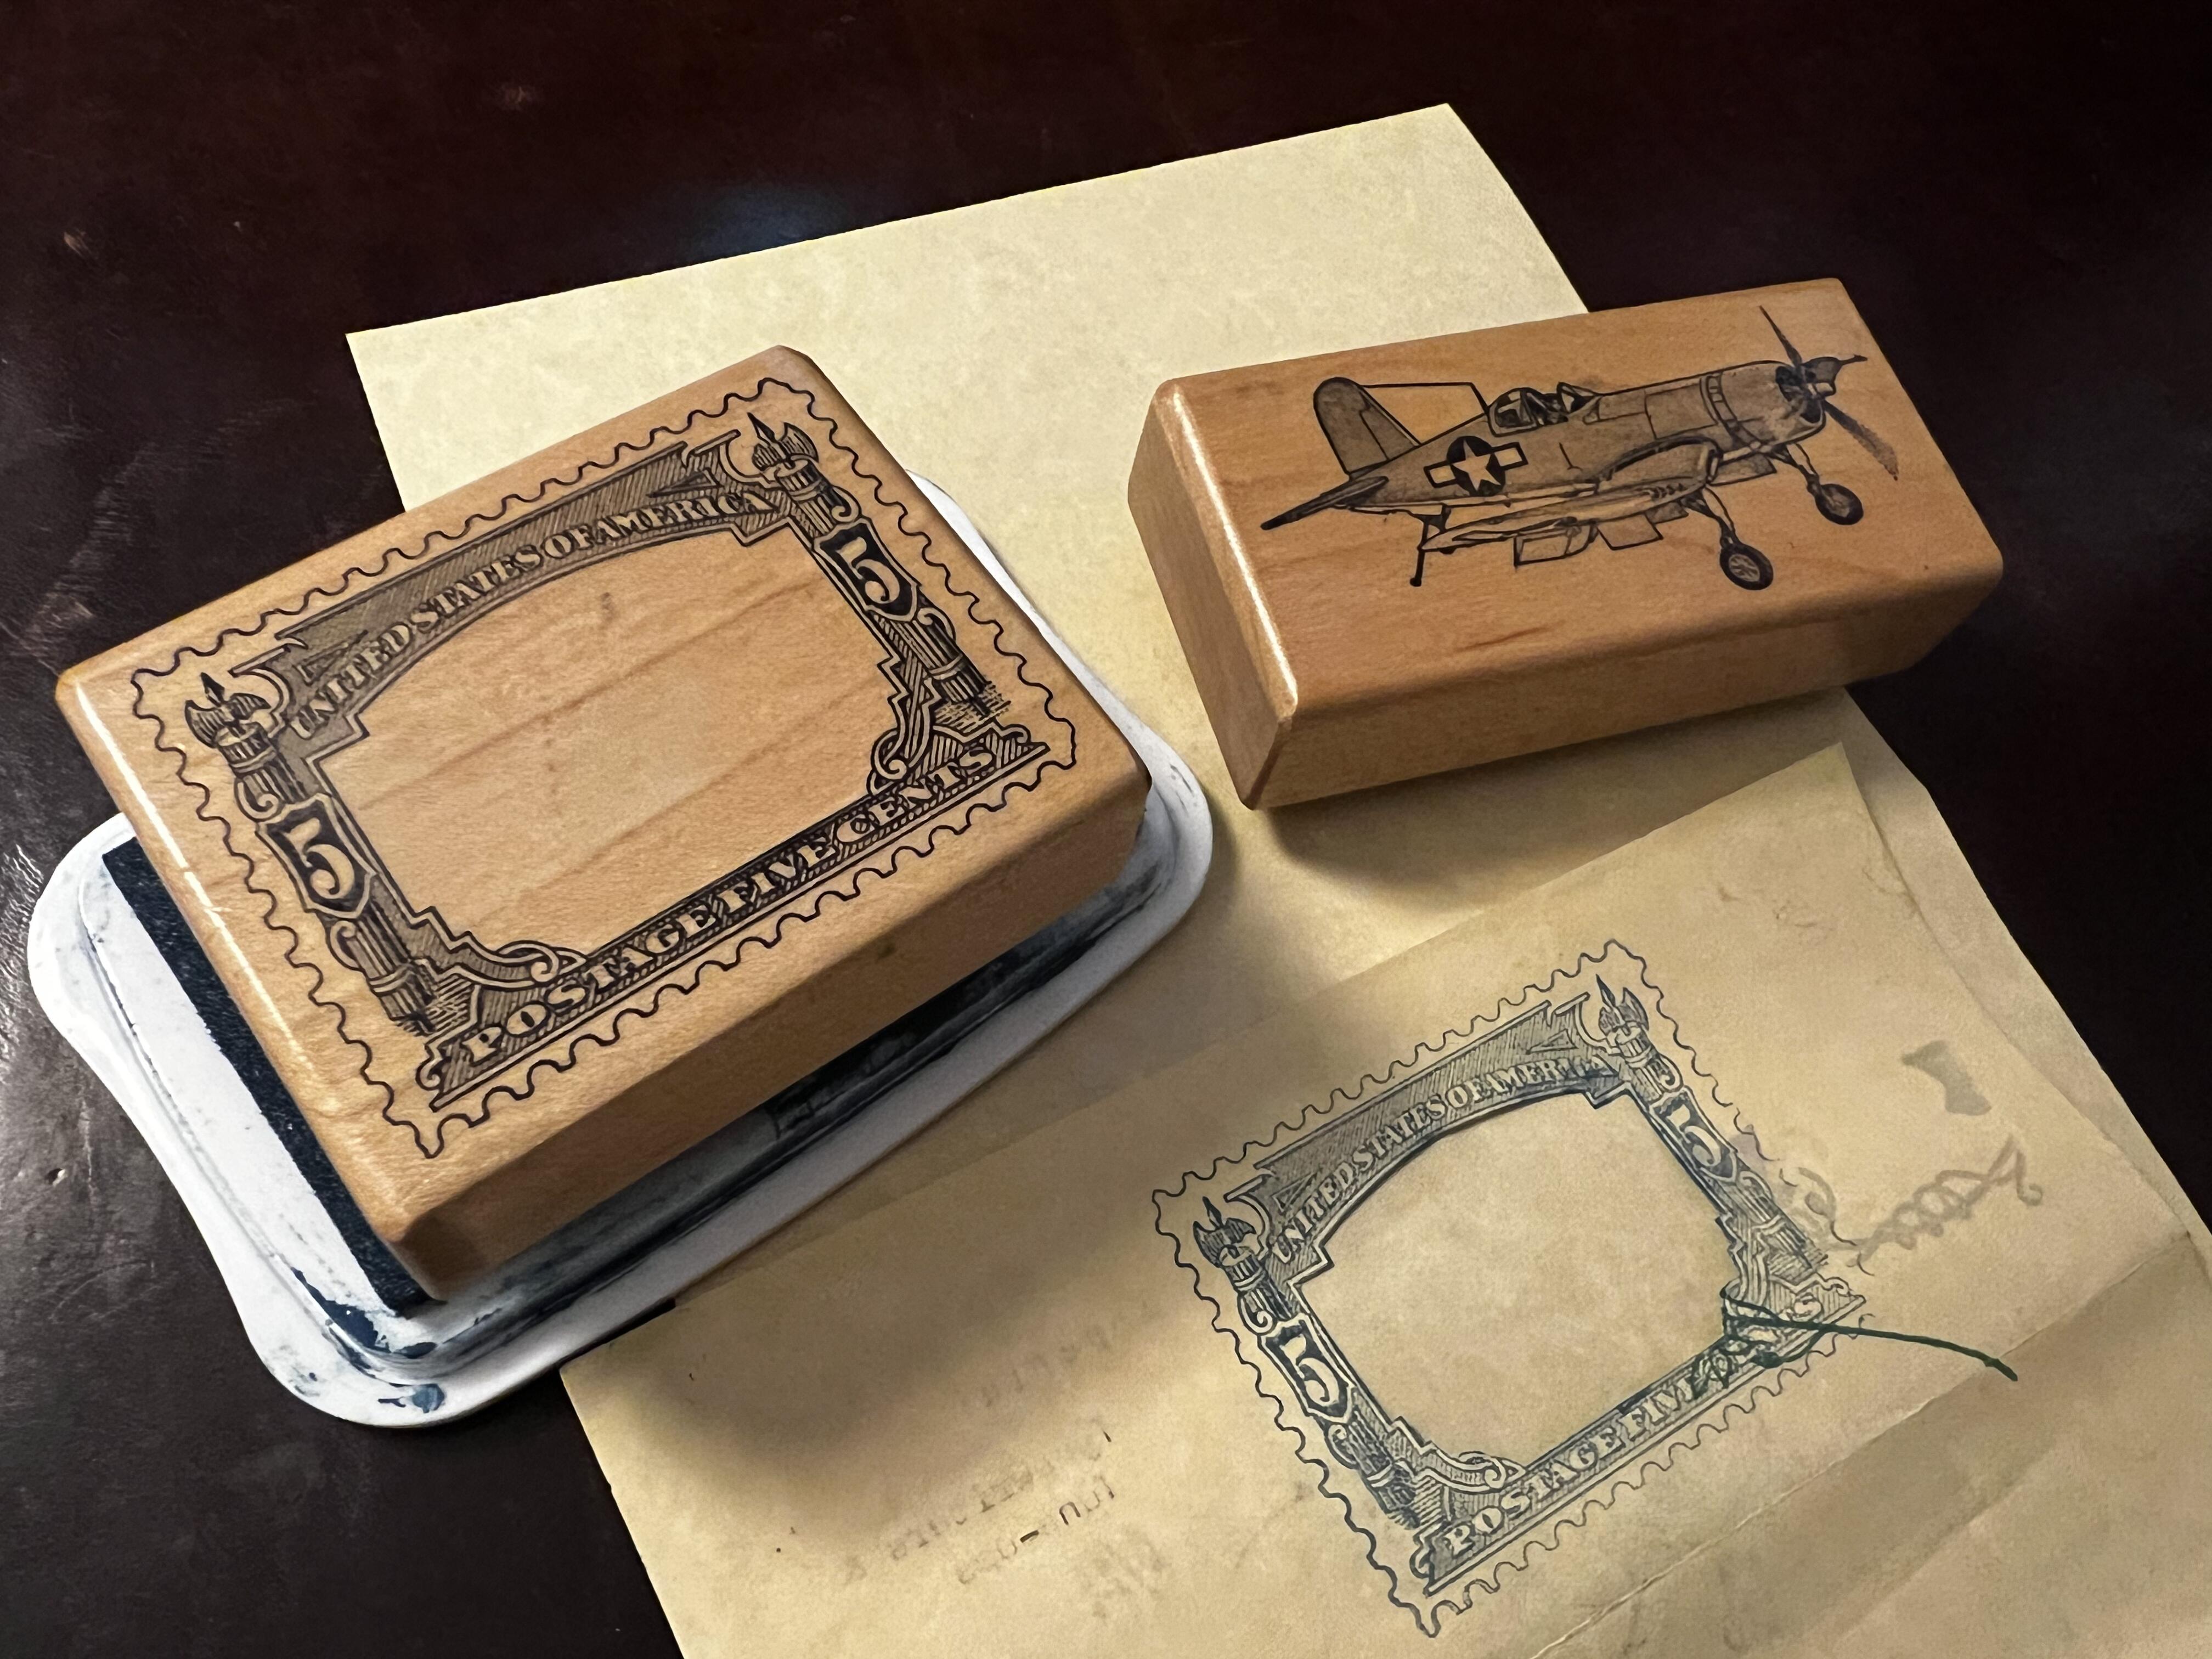
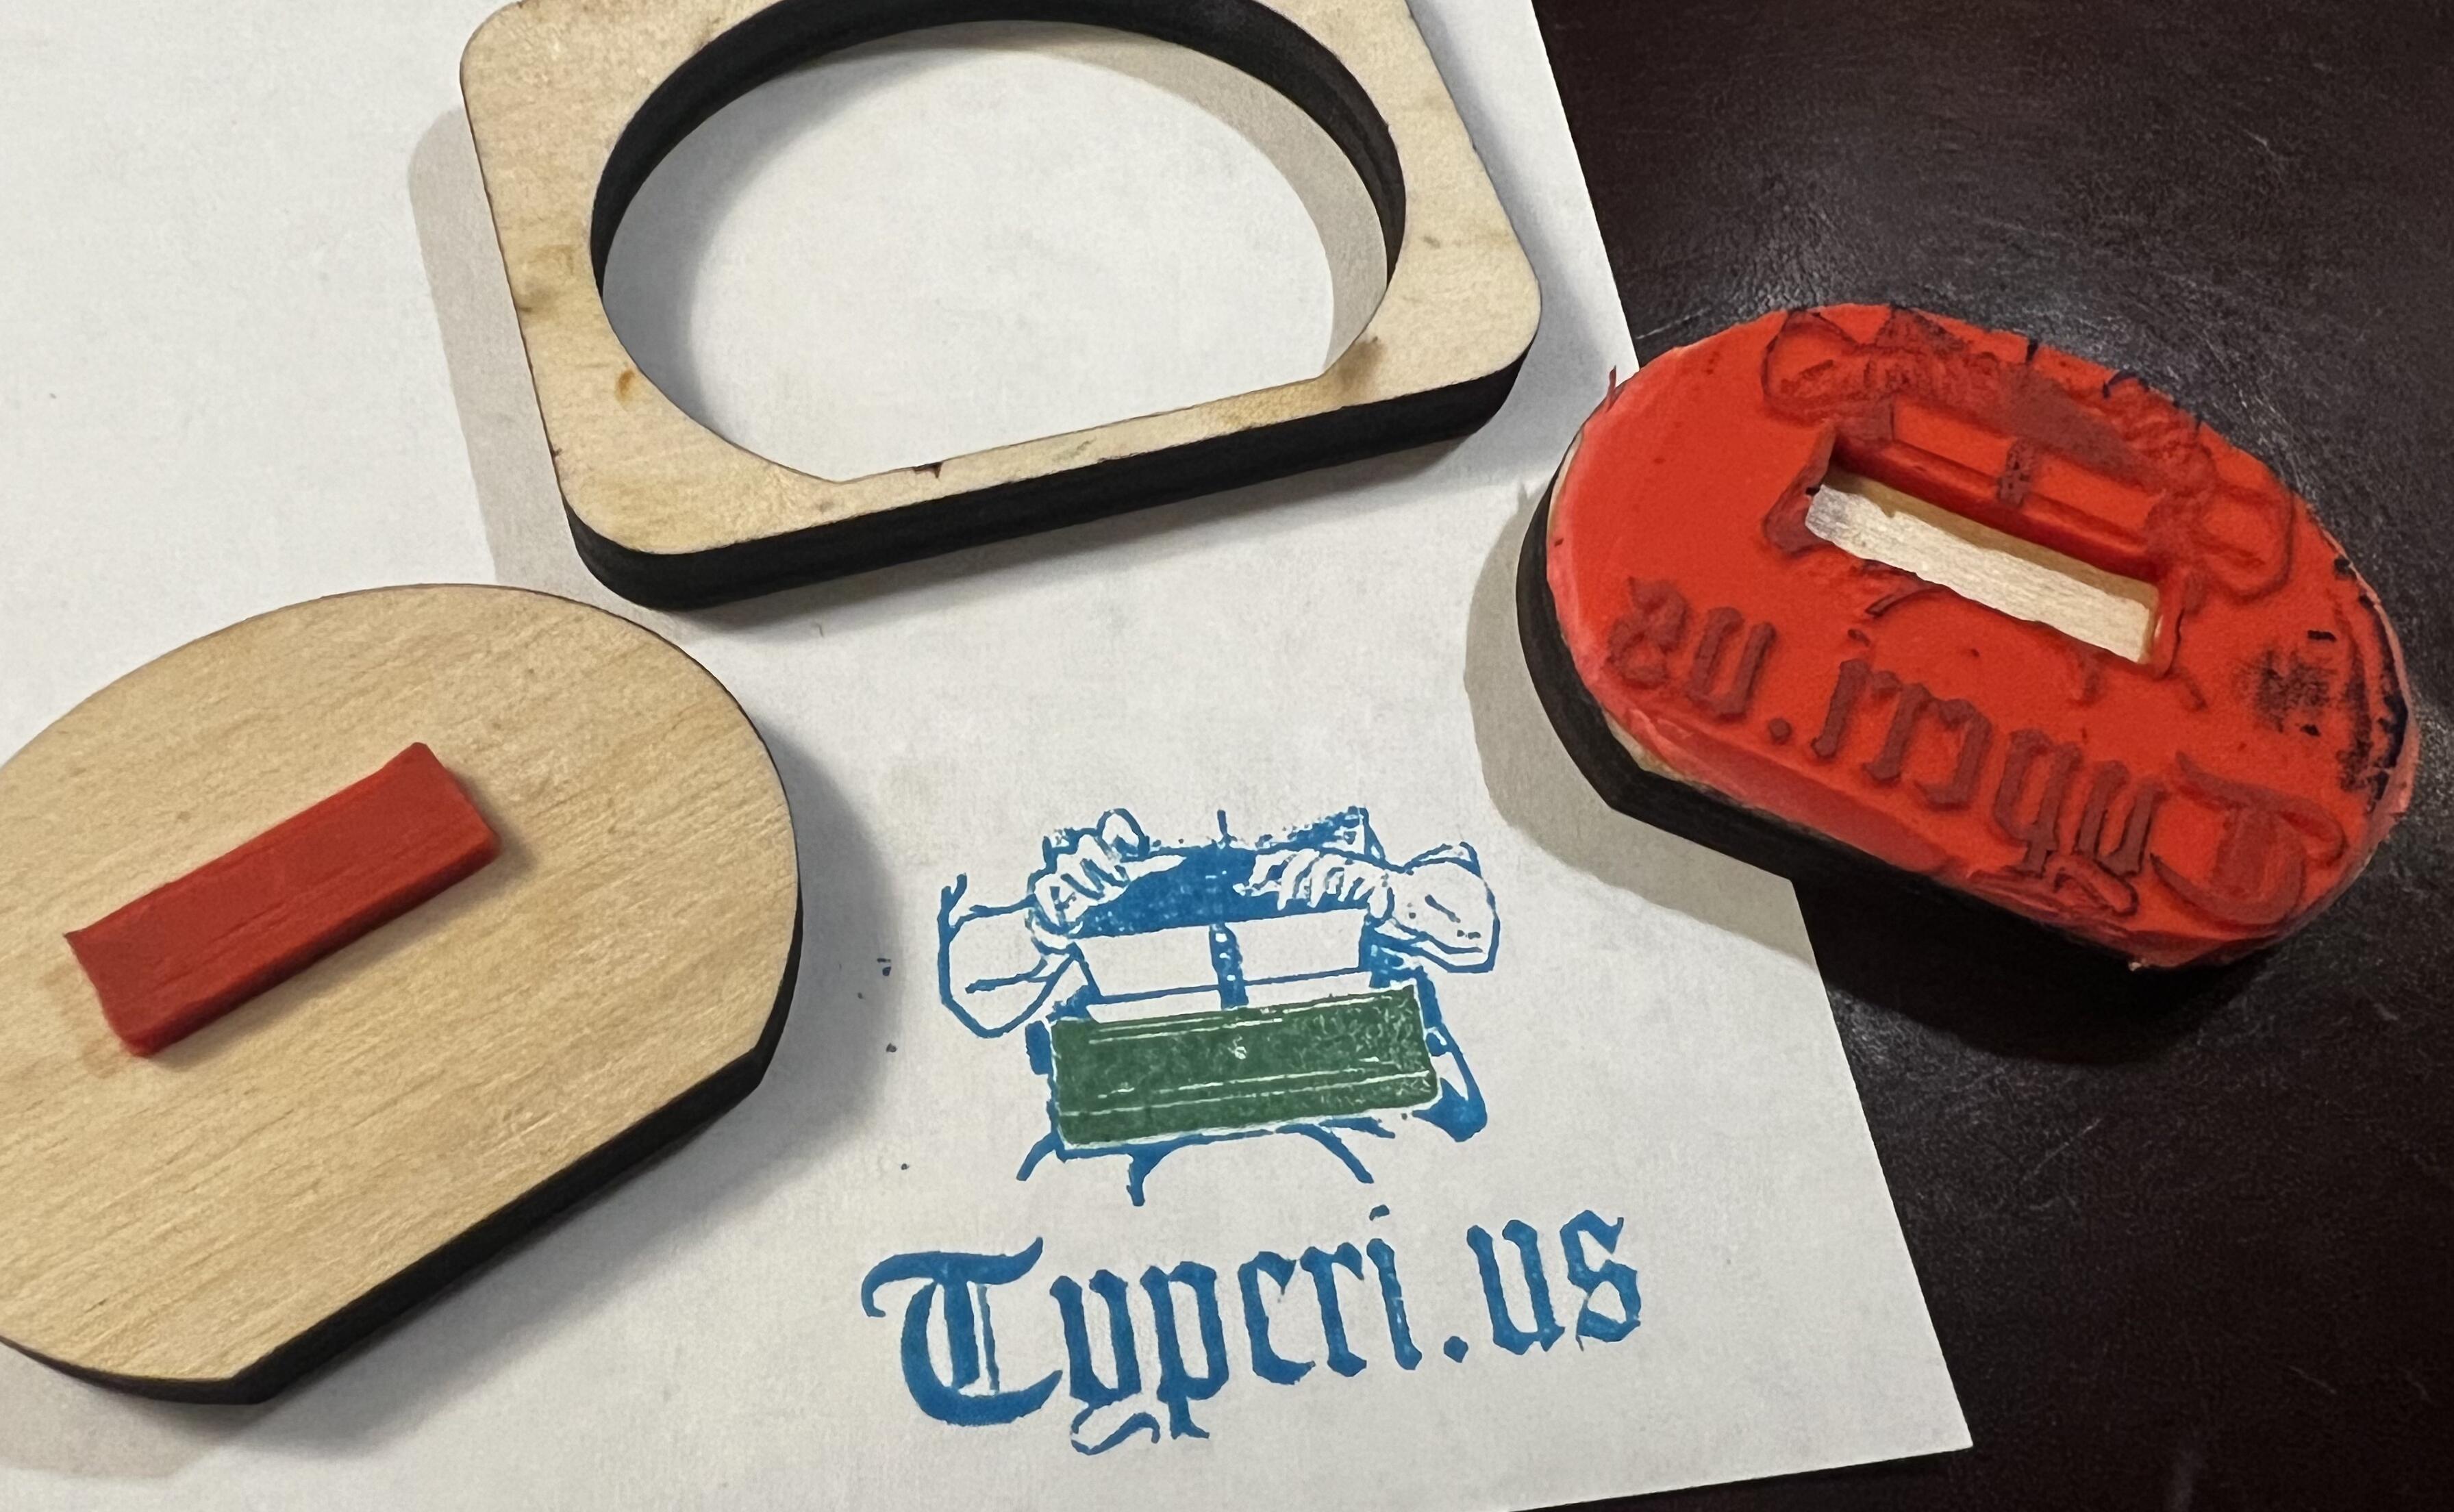
This same method came to mind recently as I had been cutting some stamps at the laser; what would I need to be able to break apart multi-color images into stamps? In the earlier method the shield simply meant that the frame would highlight a different area of the subject stamp. The lack of precision was itself a feature as I could stamp the same subject in the same border multiple times and get unique results. However if I was to break apart a single image and have the different colors align properly, I'd need a way to properly register the different stamps. The shield approach was a bit more artistic, but multiple layers would need to be aligned, hmmm...
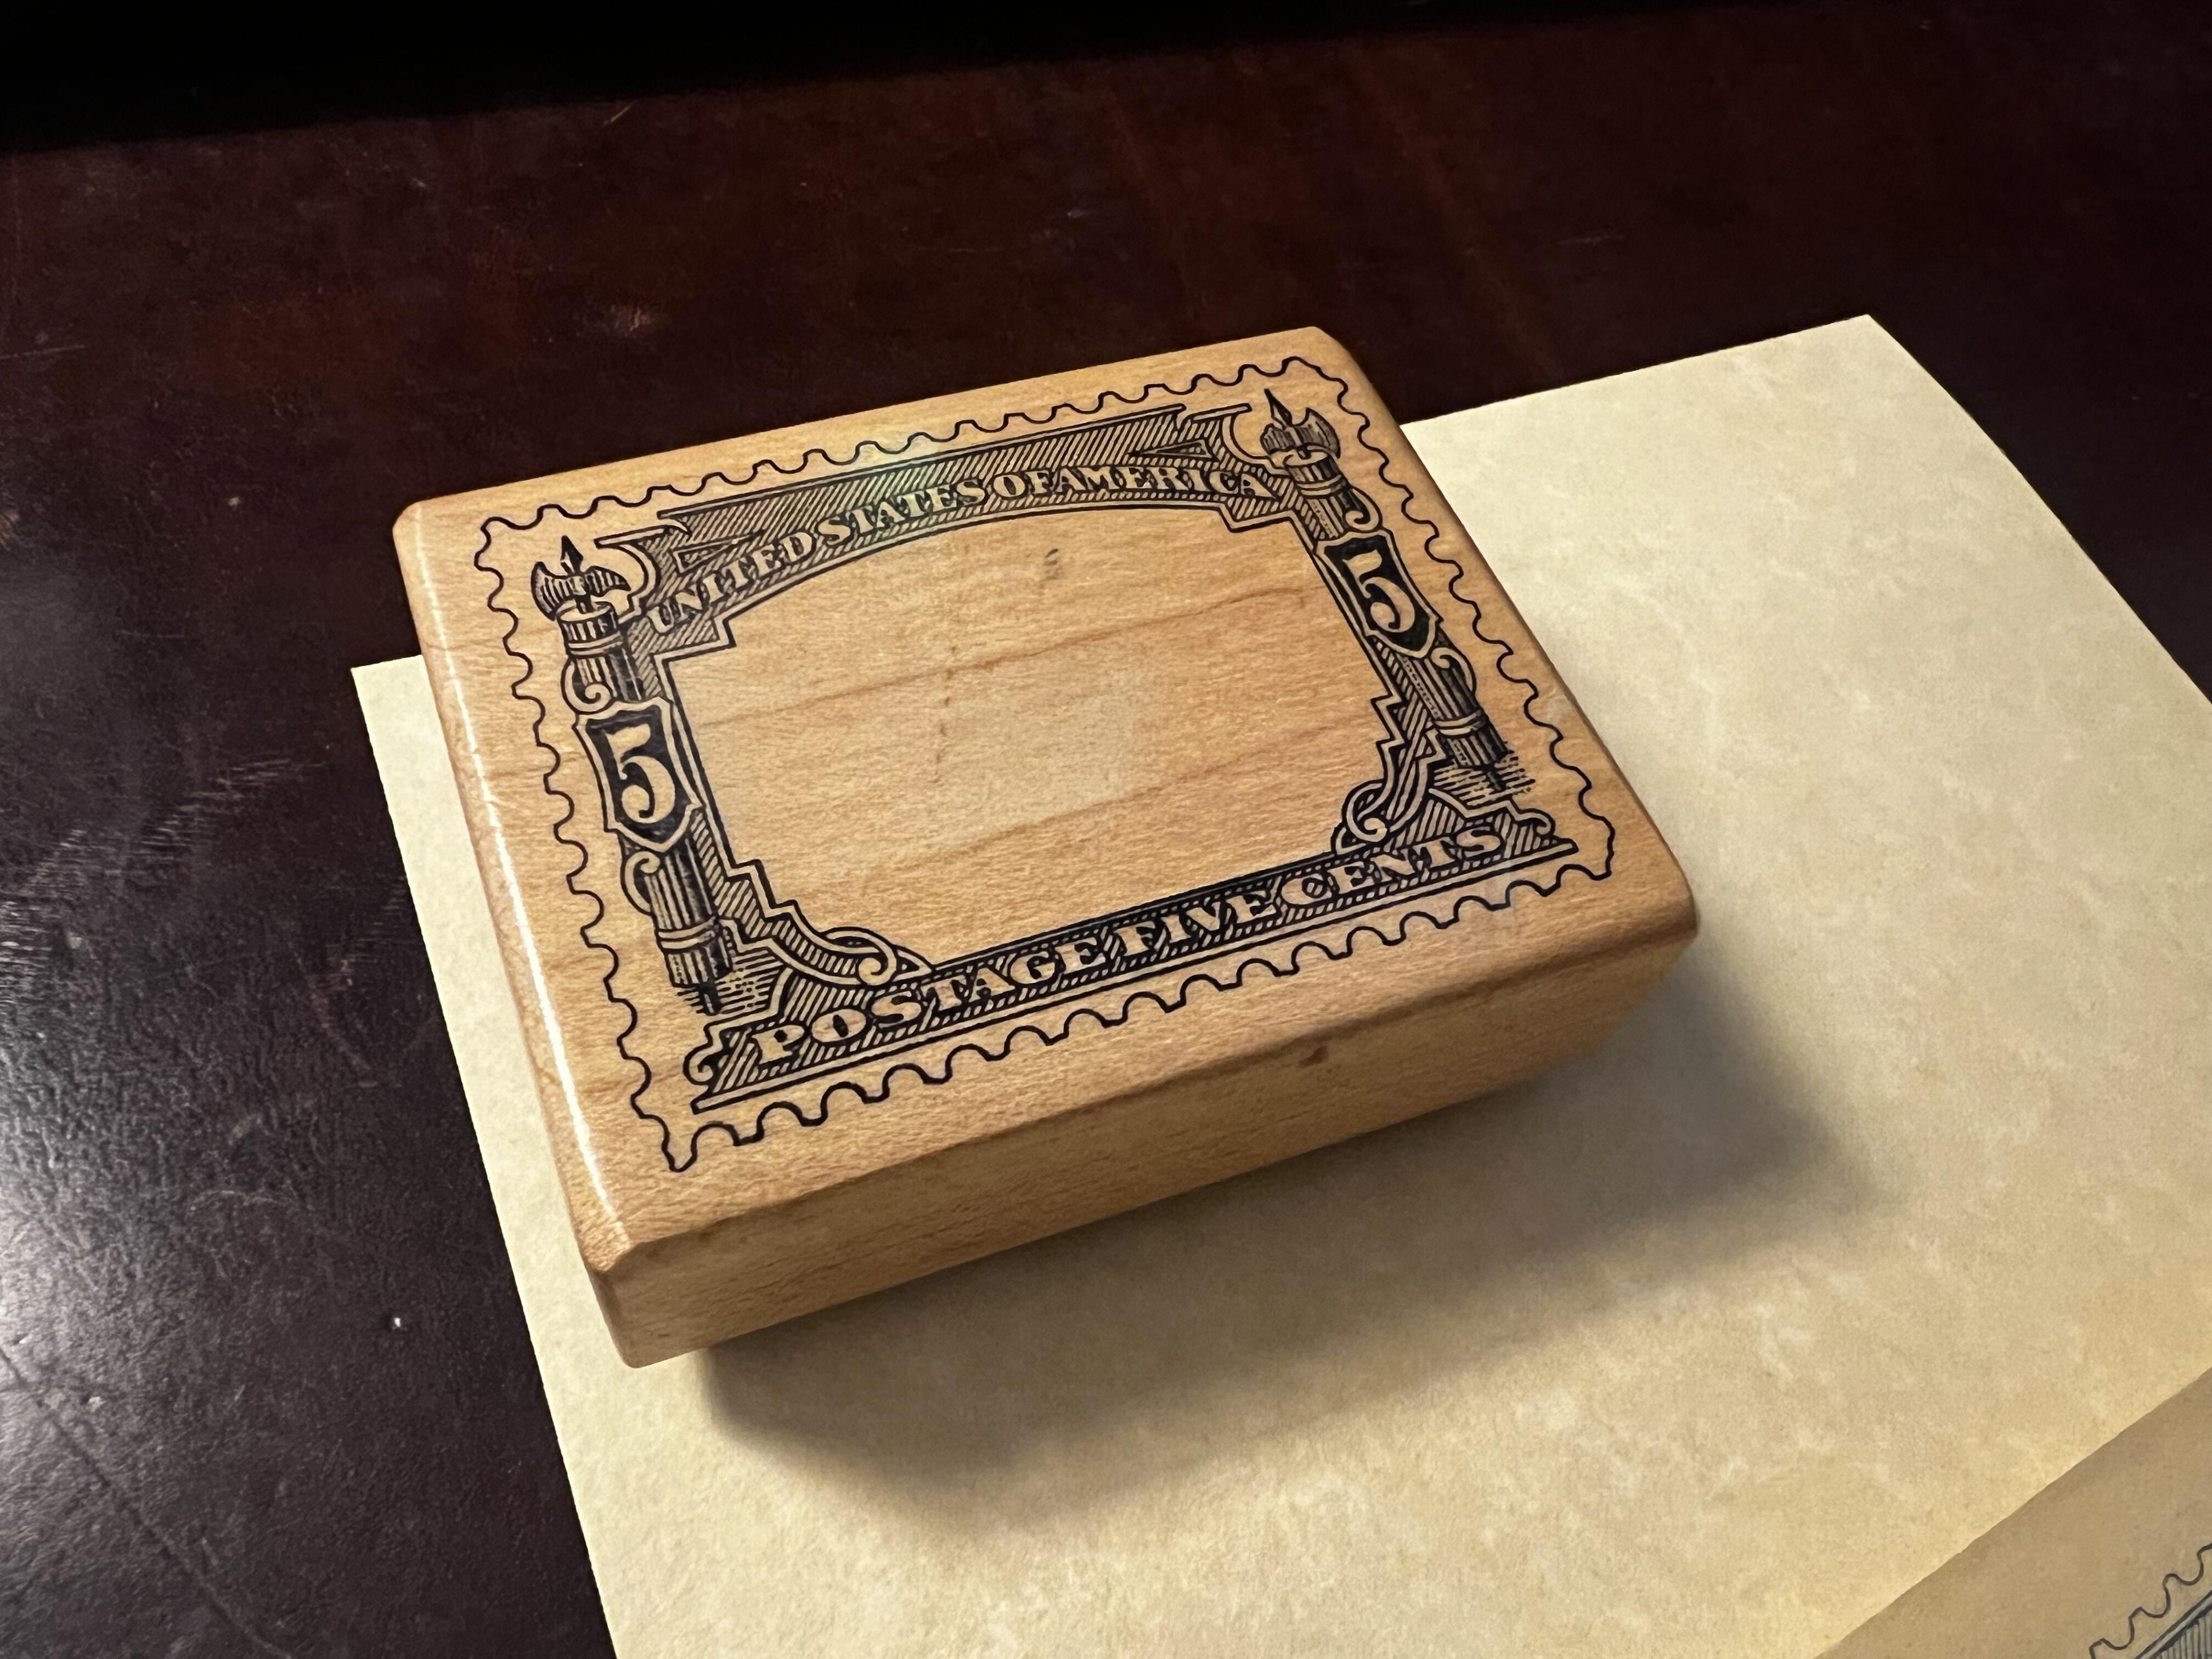
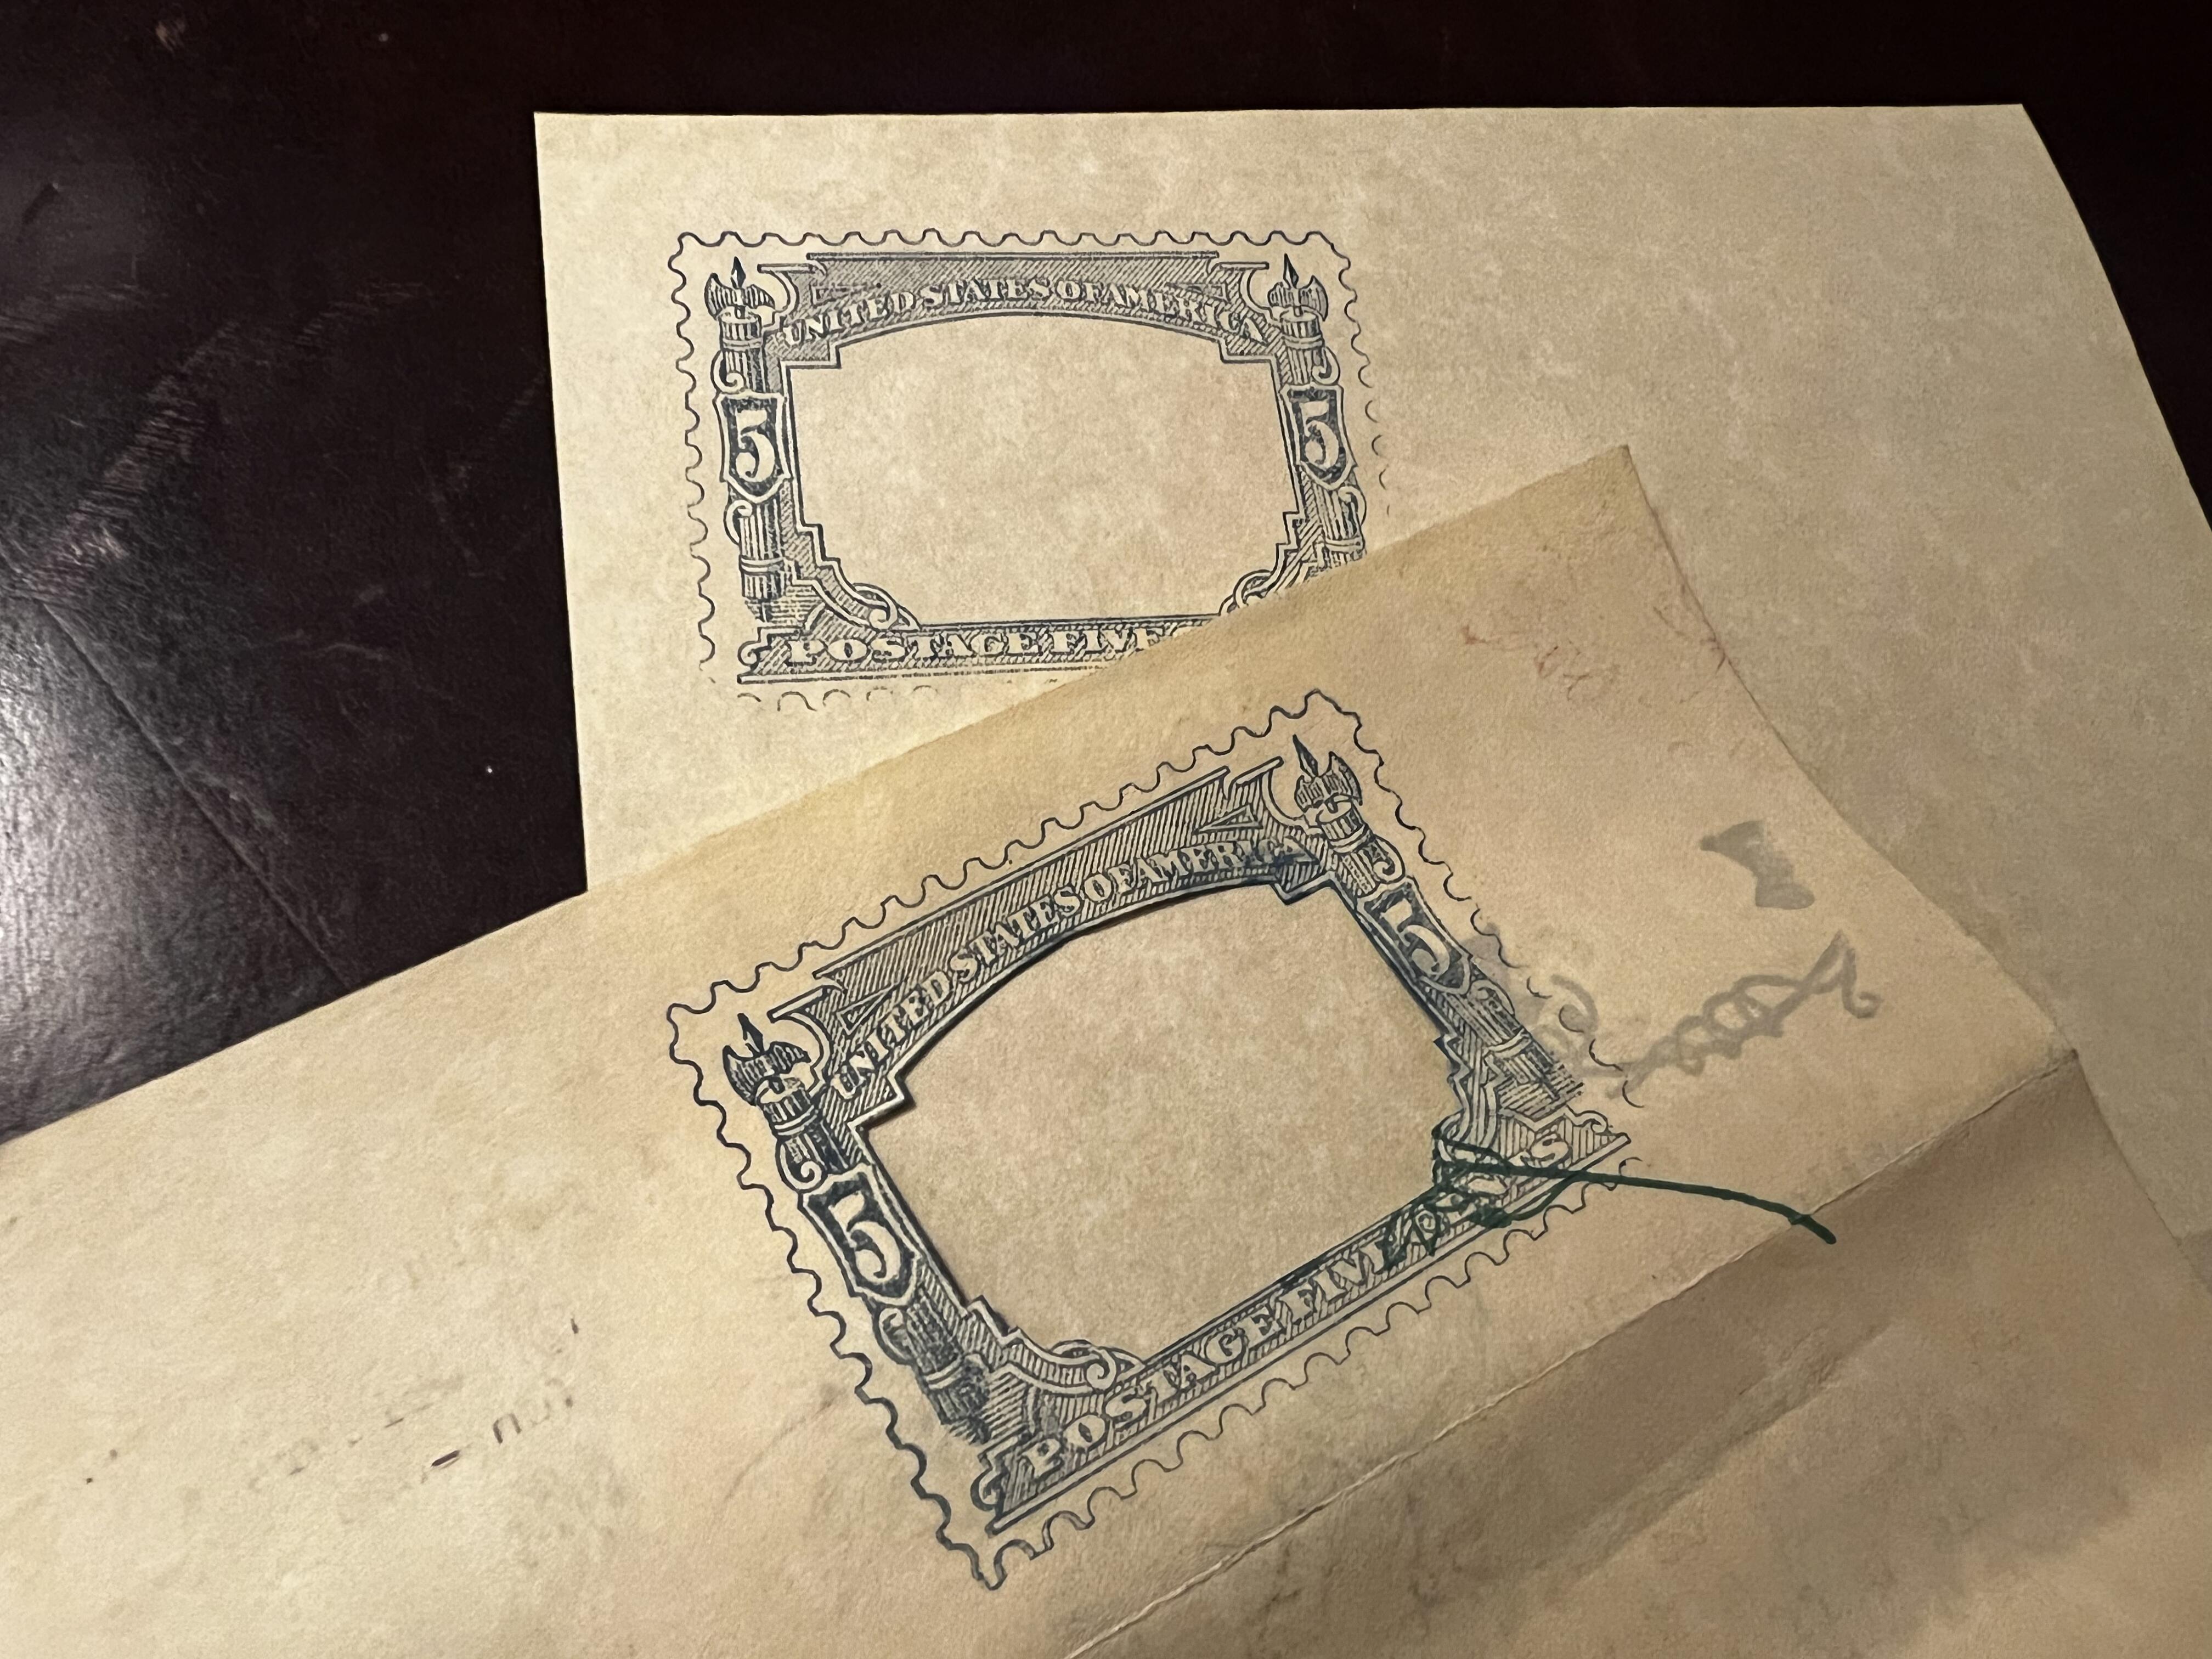
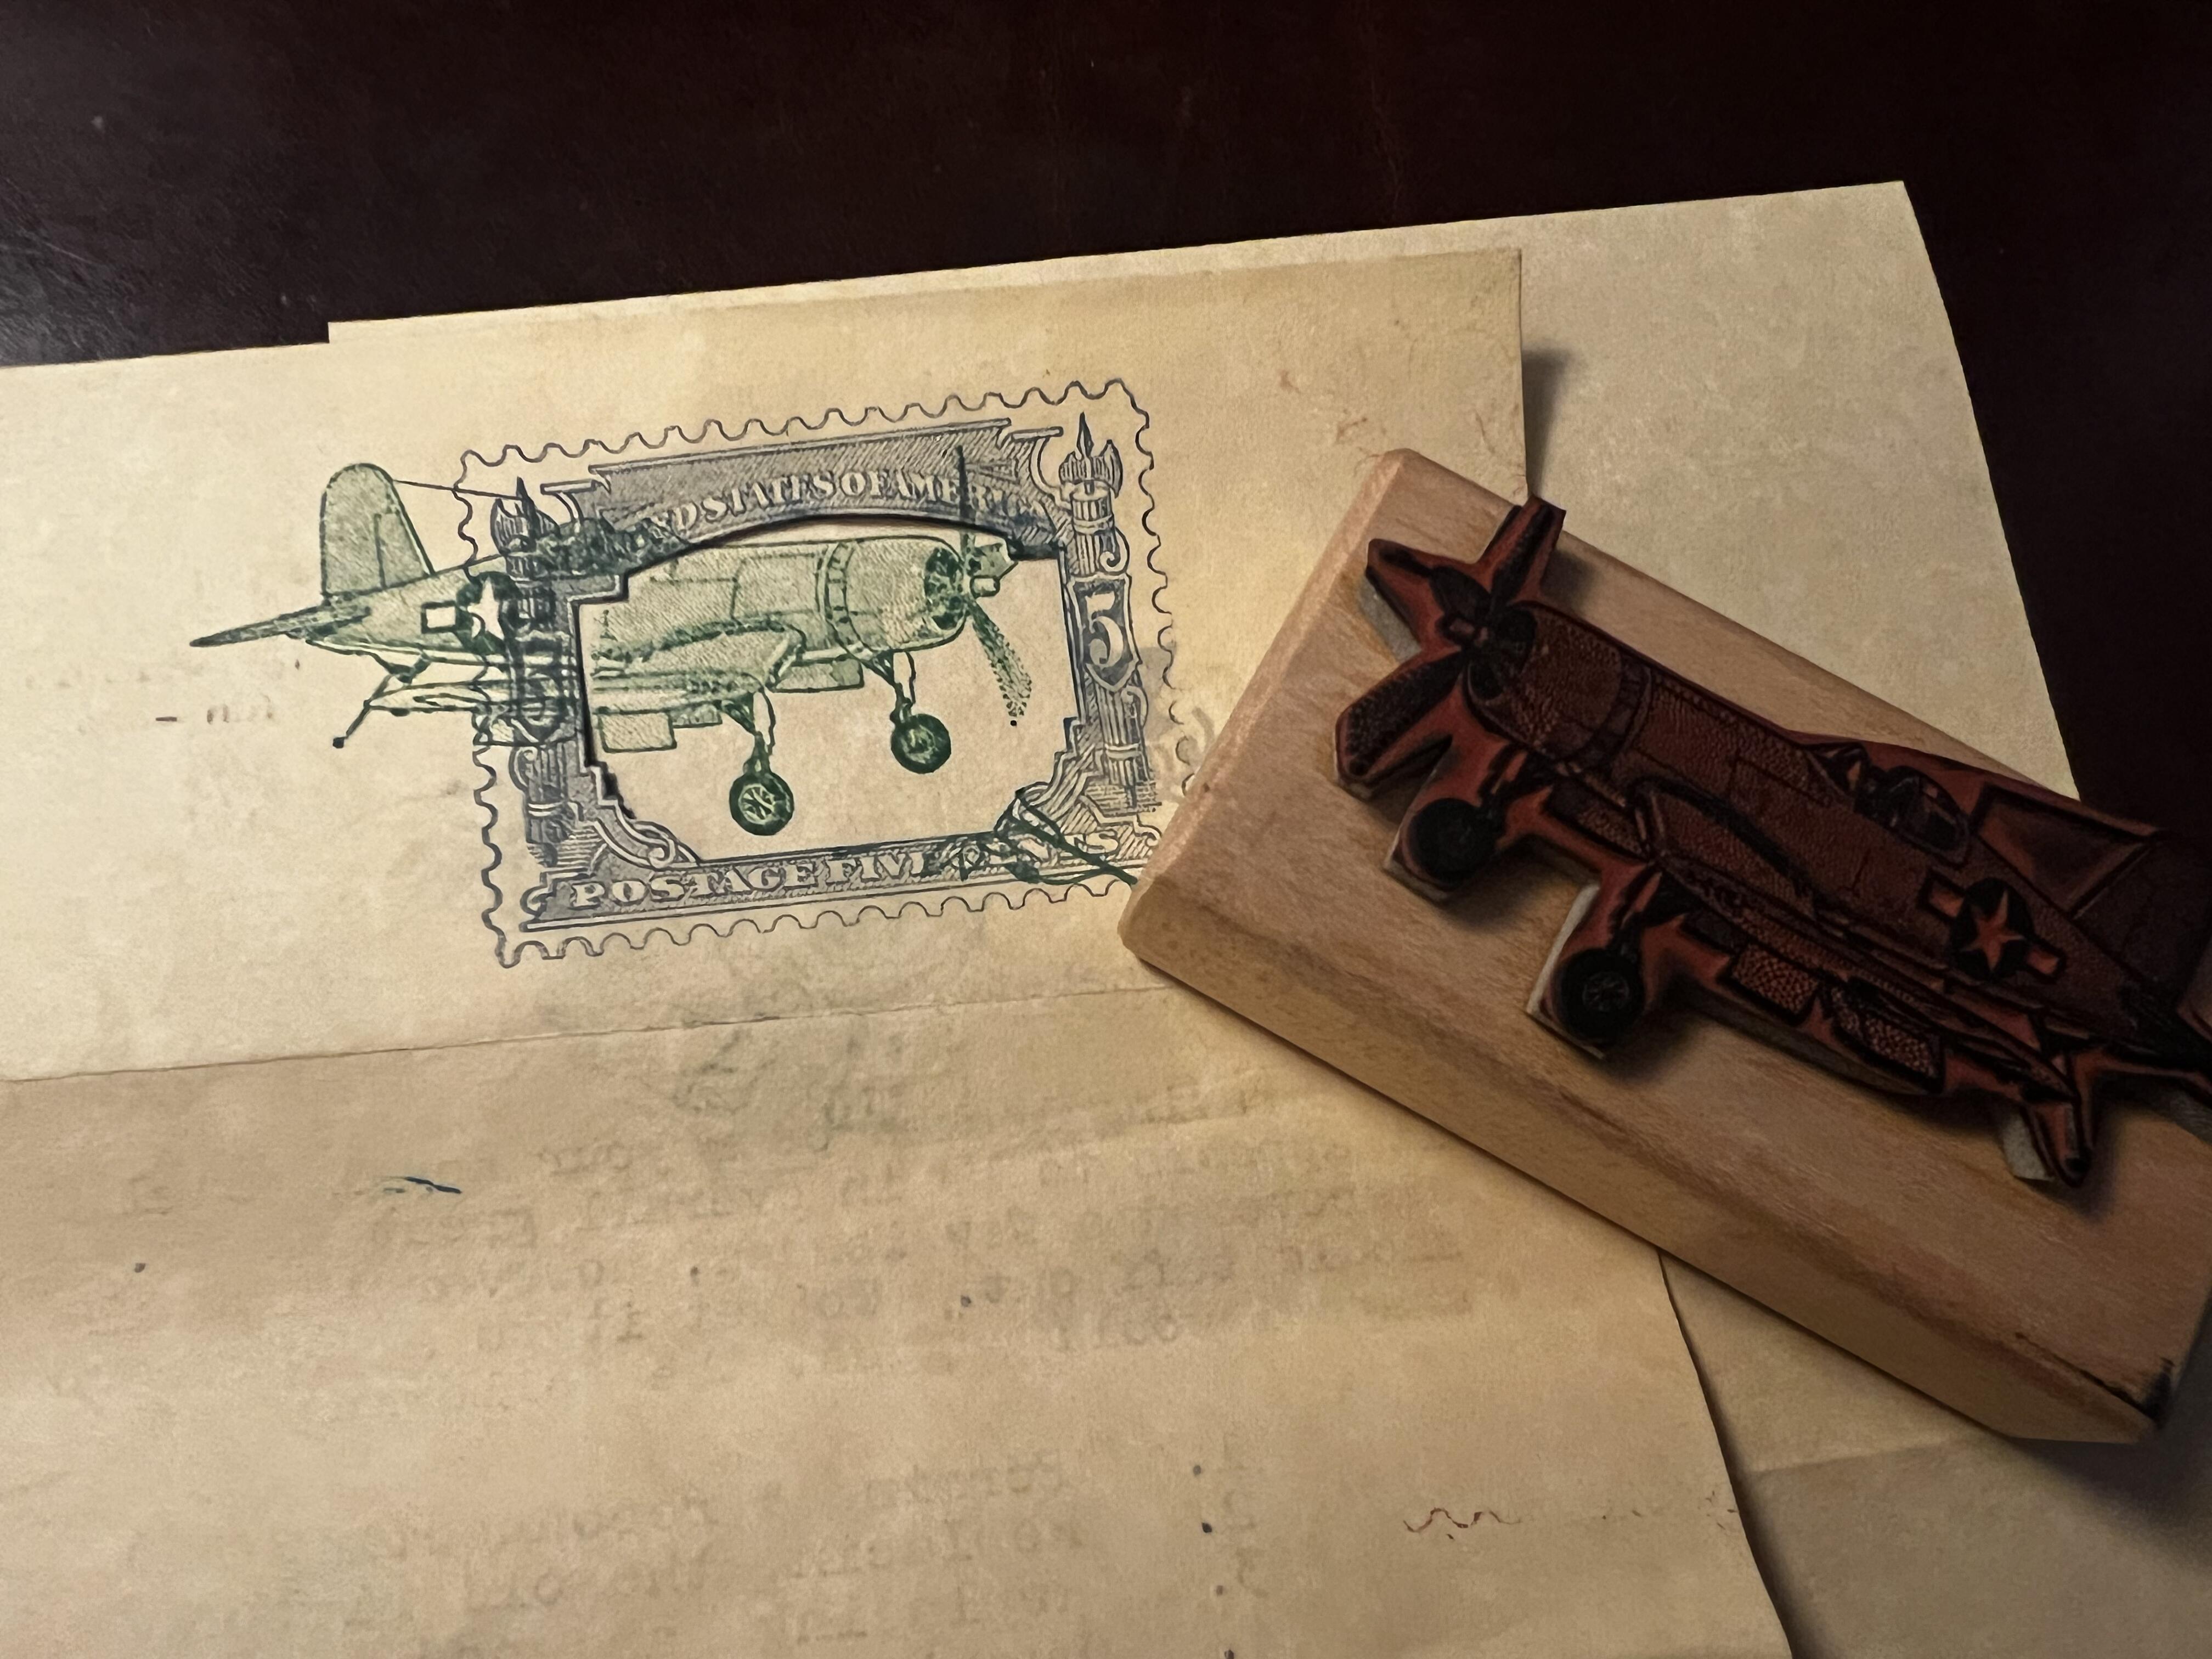
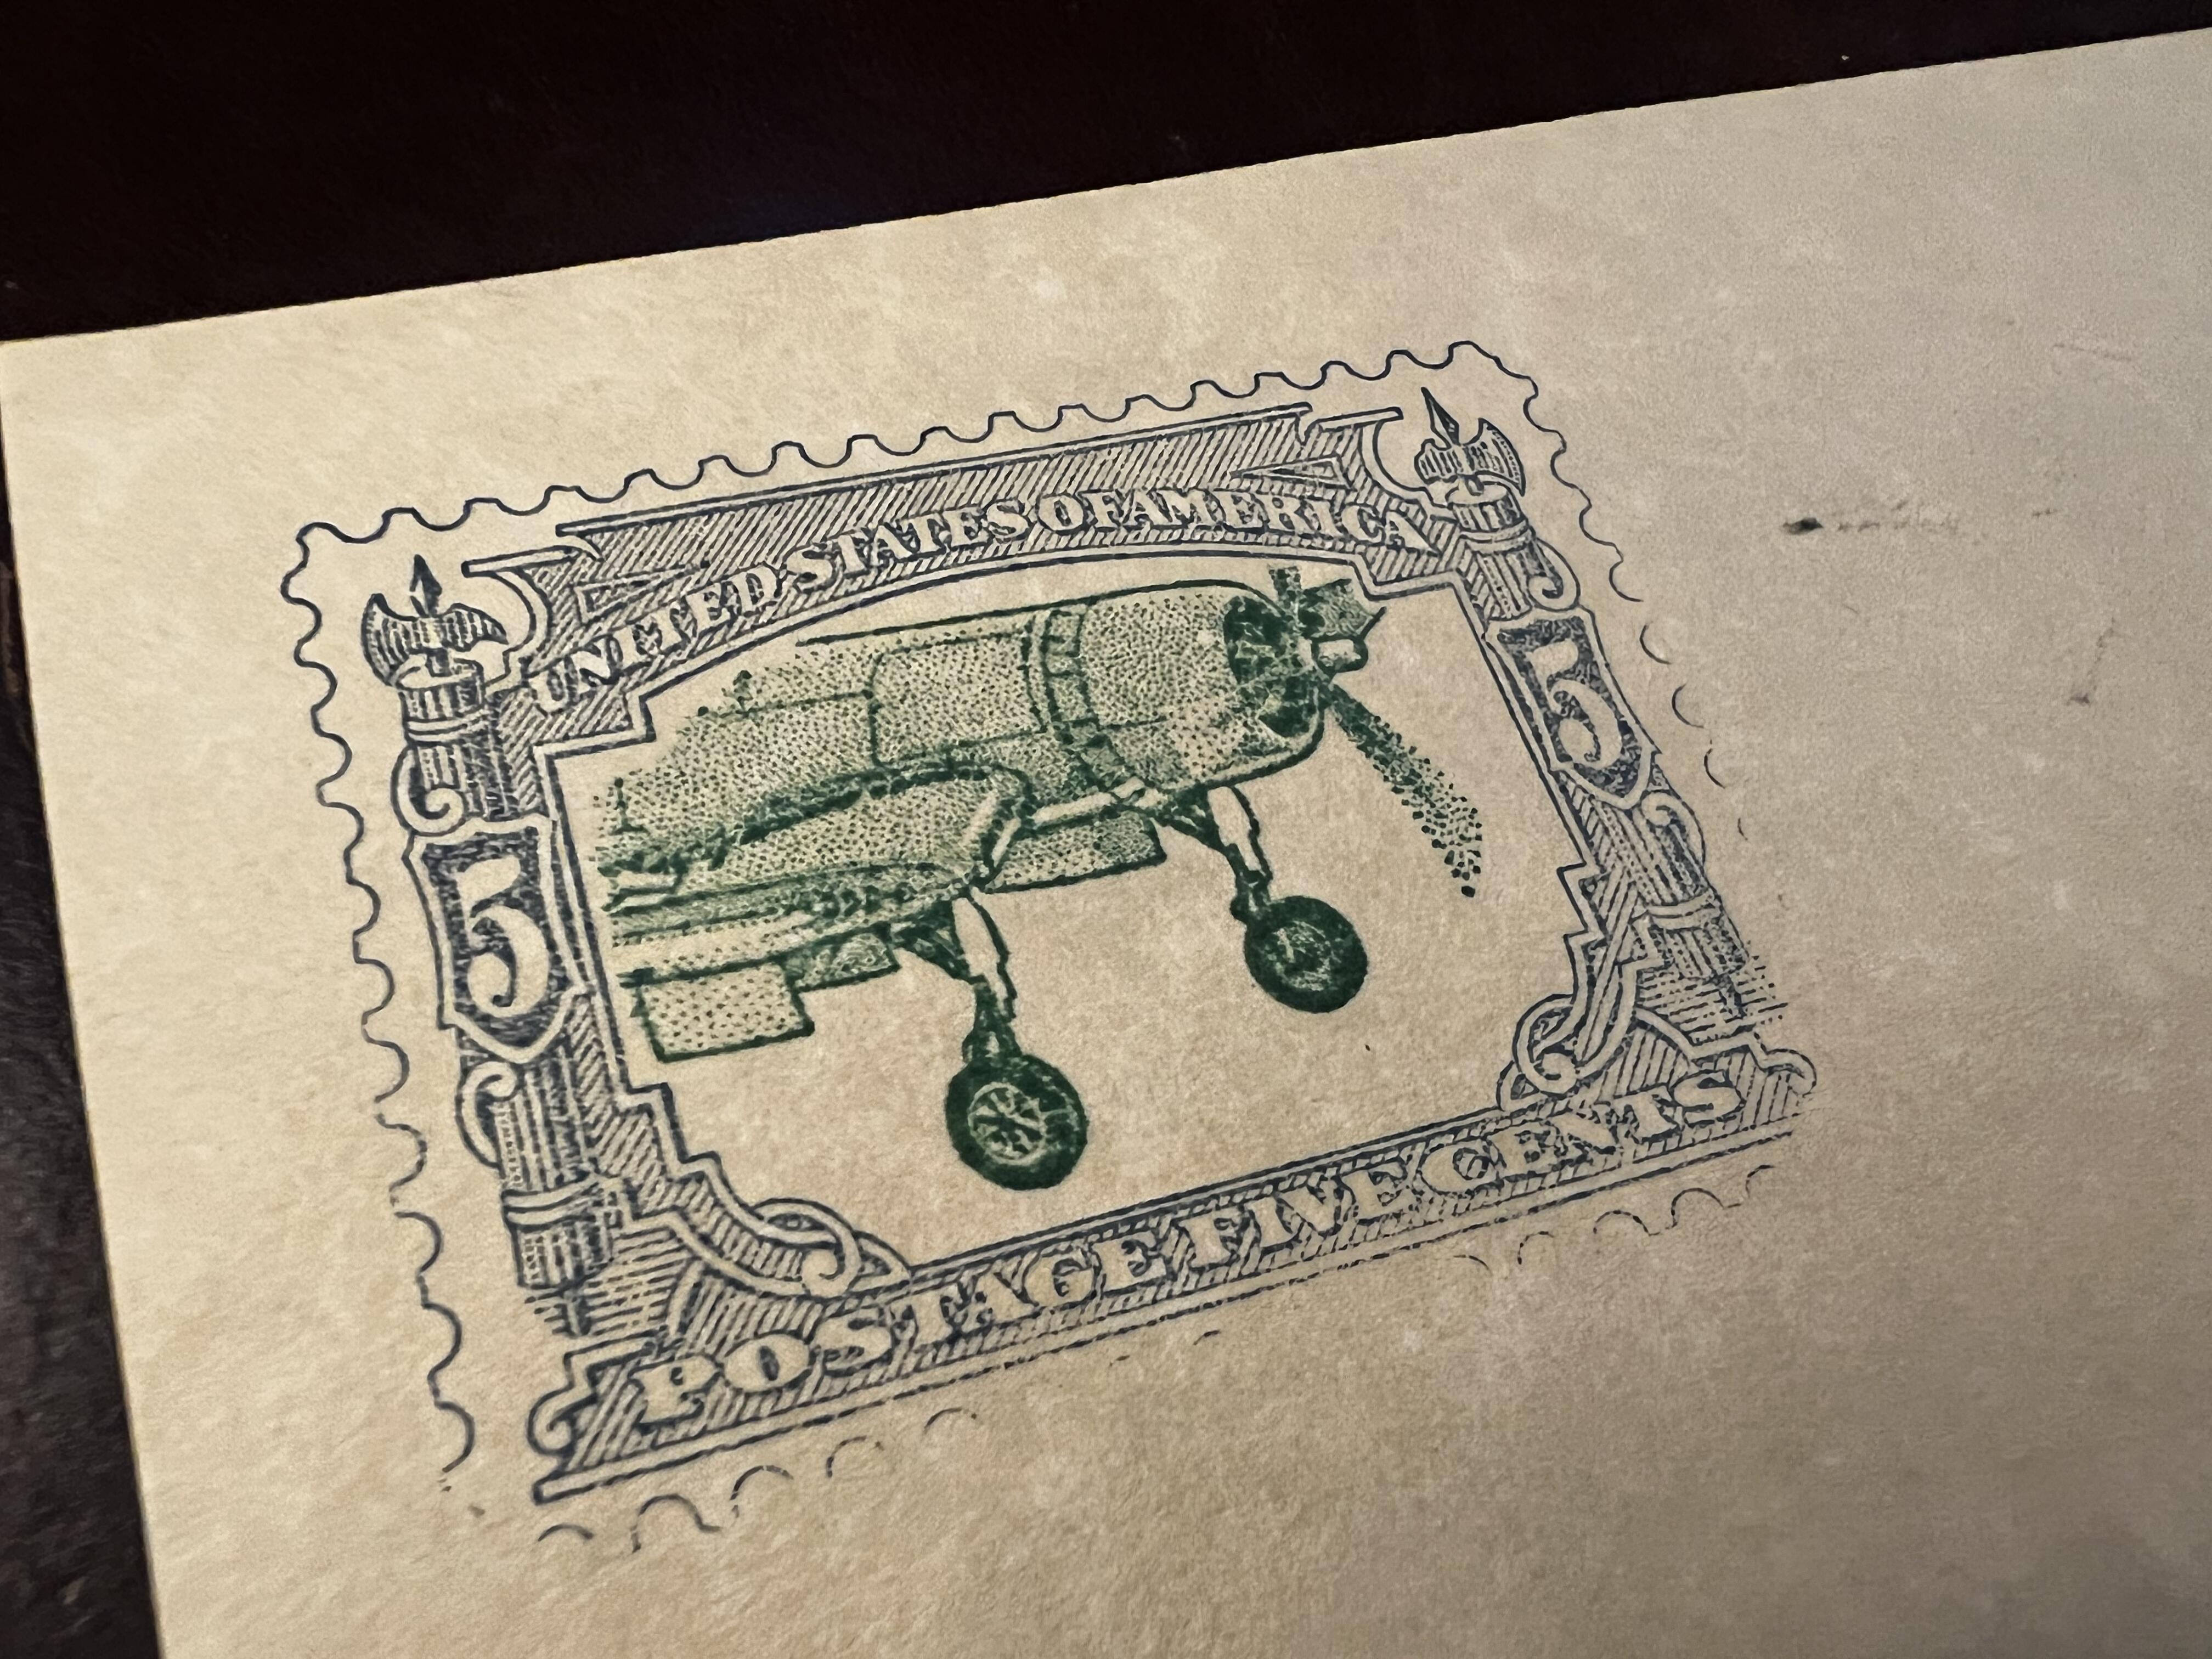
Breaking up the image was easy enough. Starting with a monochromatic stamp engraving I then applied a border around the color I wanted to target, then turned that border into a cut path. The entire stamp would engrave in one pass, then the inner cut would break apart the color groups. This approach won't work if any of the groups need to overlap, which I may be interested in pursuing at some point, but quick iterations is the name of the game. Once engraved and cut, the outer section could be indexed on the block and the inner section glued in place. Once dried, the outer section could be glued onto the second block using the same reference.
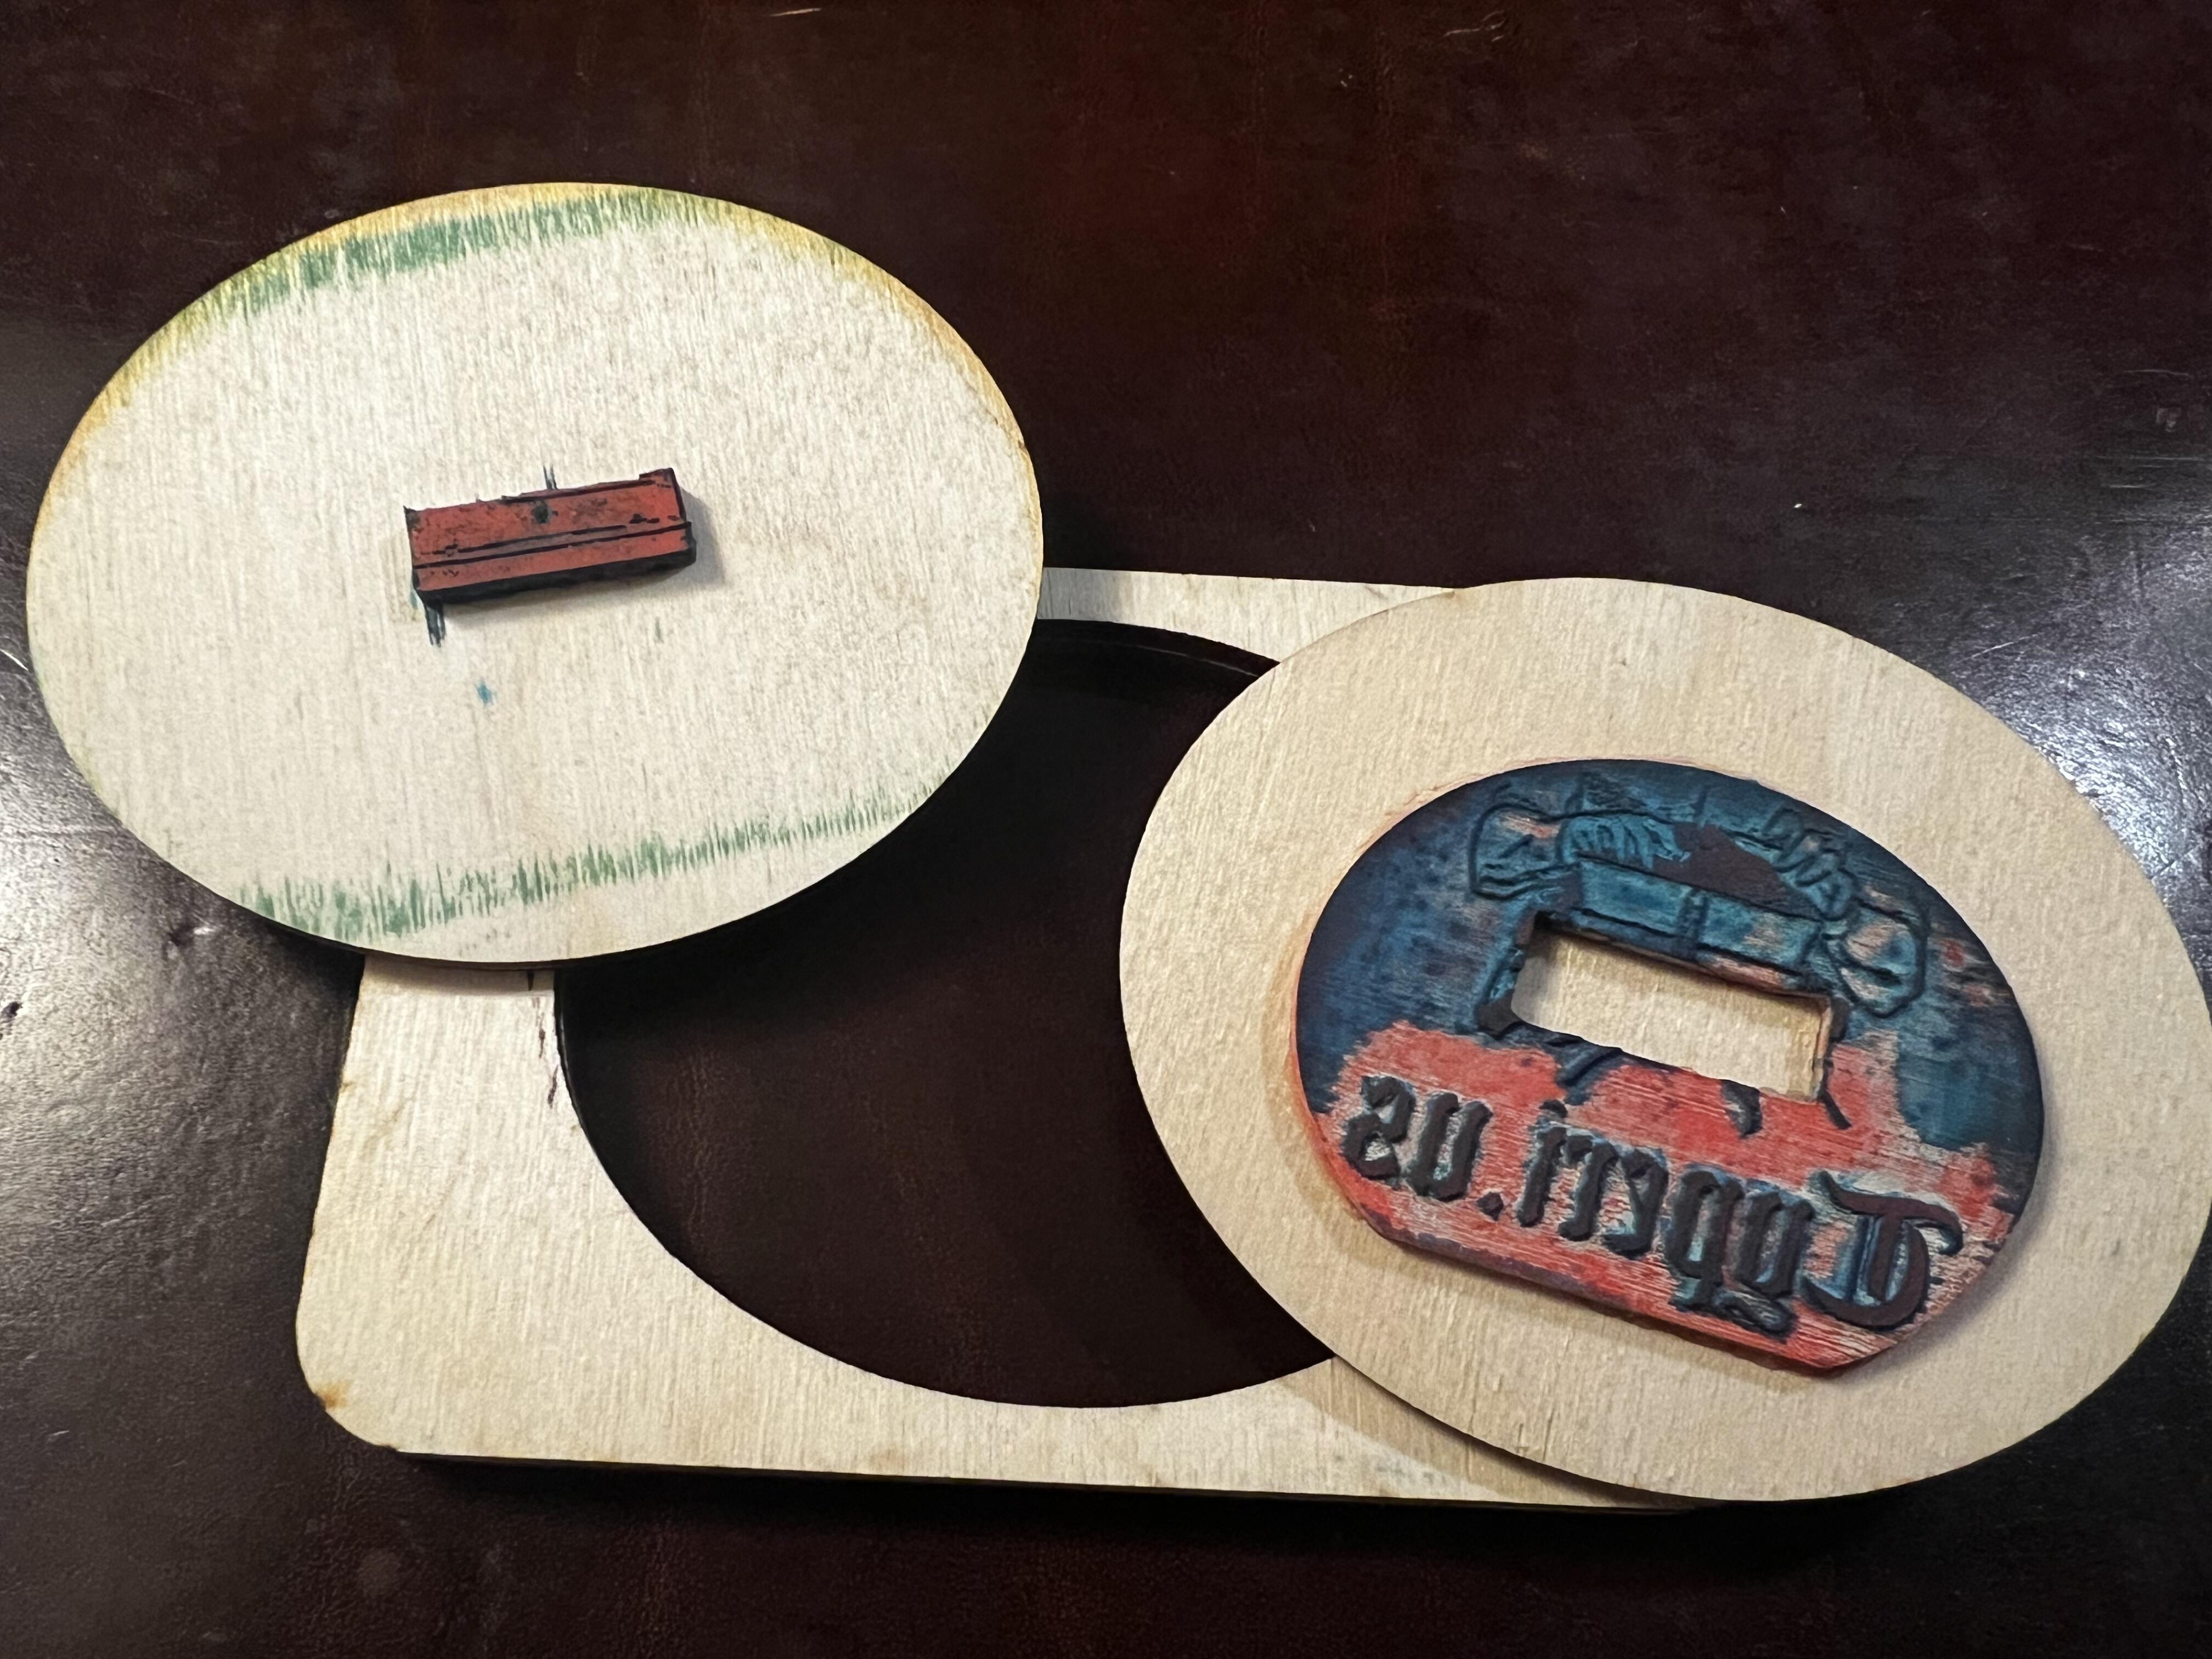
In the first version I made the mistake of using a round-ish shape for the reference square. This outer shape is what is held in place while stamping the different layers however if the indexing point isn't consistent, it's easy for the layers to rotate out of alignment.
Lessons learned! On later variants I moved to a shape with at least one edge. There also seemed to be some trouble with the cutouts being the exact same size as the stamp - the kerf isn’t perfectly vertical on the laser (it converges and then diverges as it passes the point of focus) however this usually means there is a bit of overhang on the cut / engraved side.
As this gets fleshed out more I'll make some updated posts, but for now it’s just fun to know that this is within the realm of possibilities! For anyone curious about the inspiration for the machine and image it's based on the cover of Vol. 13 of Spy x Family.
